
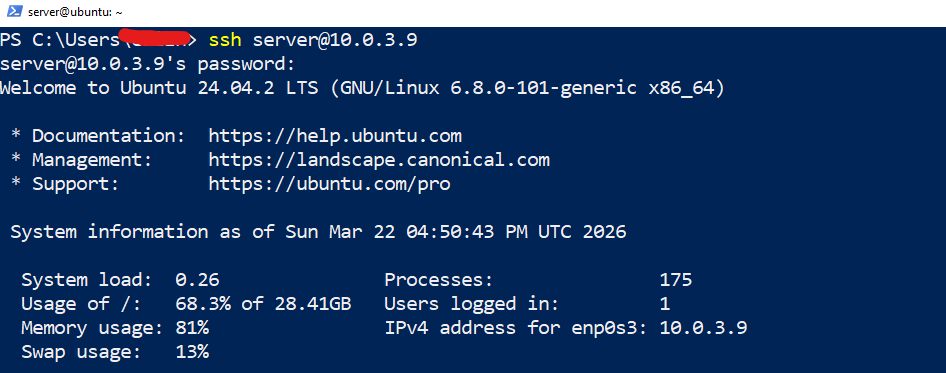
I will show you how to integrate Cortex & MISP with TheHive, The integration allows TheHive to directly trigger analysis in Cortex and MISP, receive threat alerts from MISP and send gathered intelligence back to MISP for sharing. When a security incidents occur response time are key and therefore integrating and automating our SOCK as much as possible is a key to reduce time and we can focus on the interestings things. To make possible to complete some basic configurations in both MISP and Cortex, Open your terminal where your server is running and ssh into it.
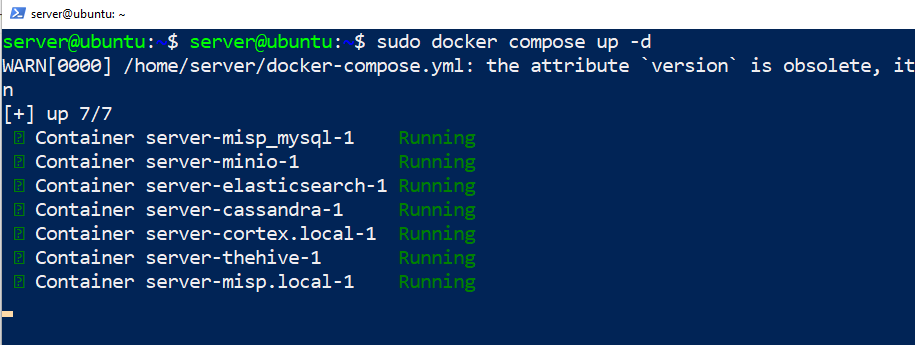
First check if the Docker containers are online by running the docker up command
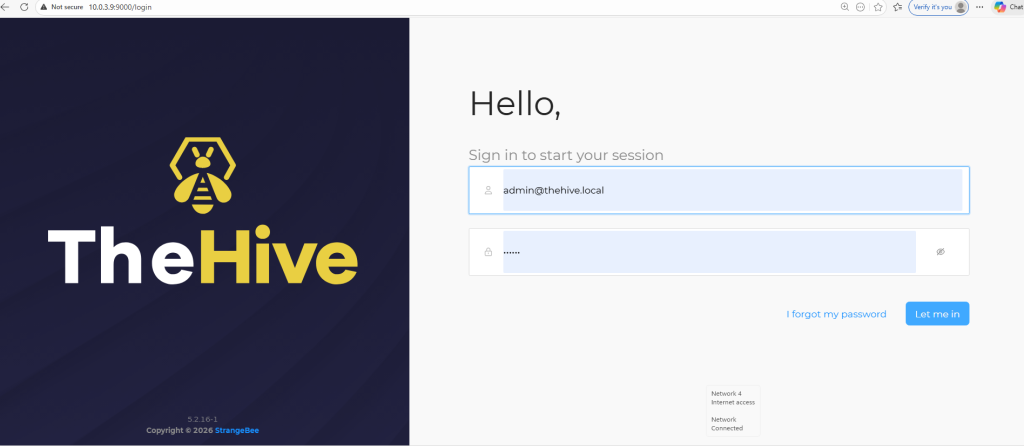
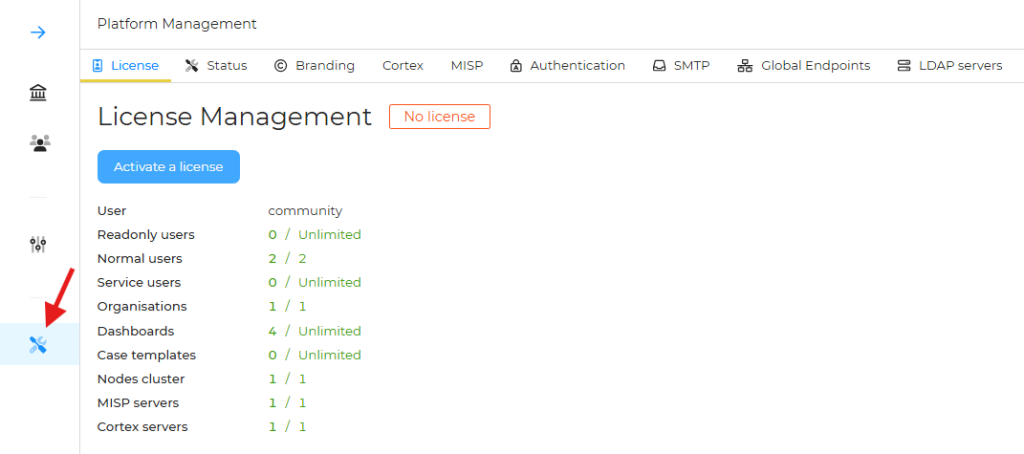
Let’s access TheHive using our default user name and password, Next if you go to the platform management setting you’ll see we’re using the community license.
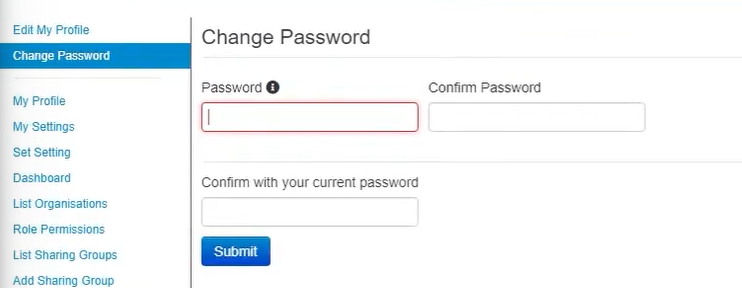
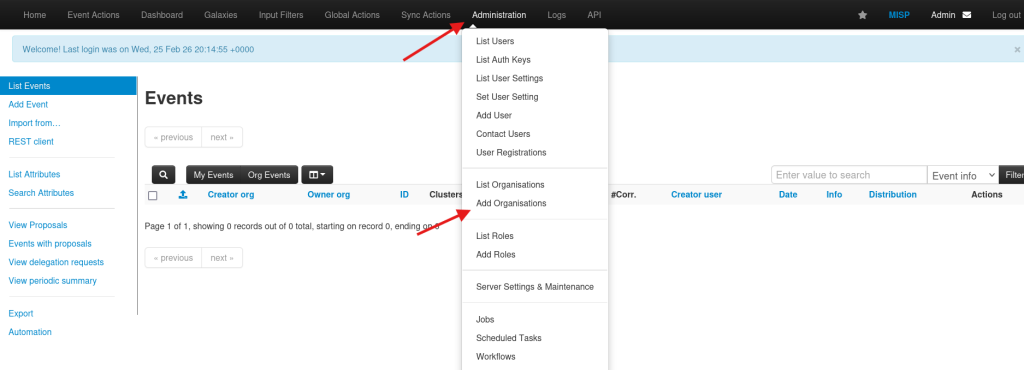
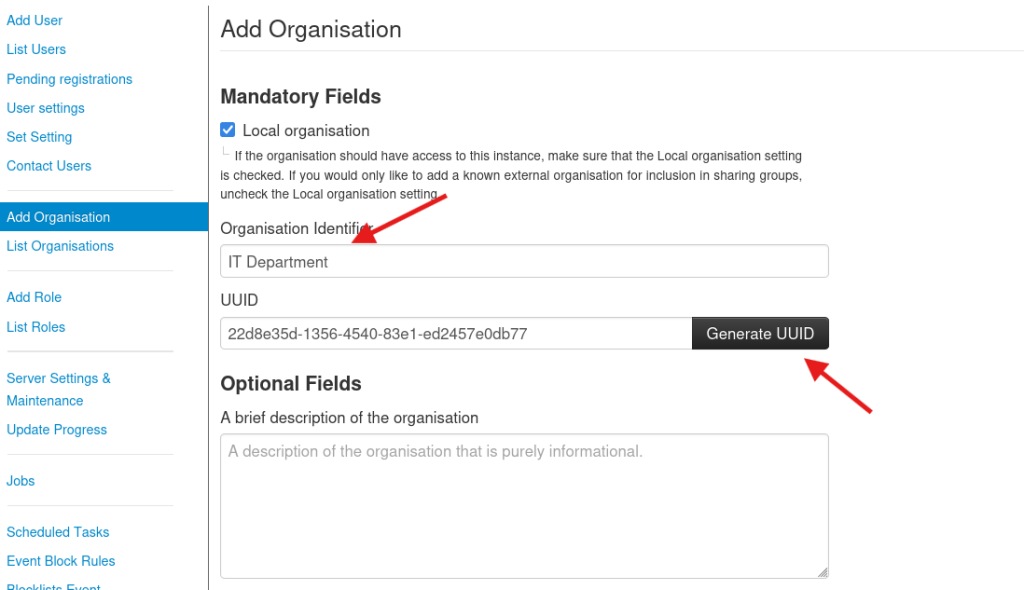
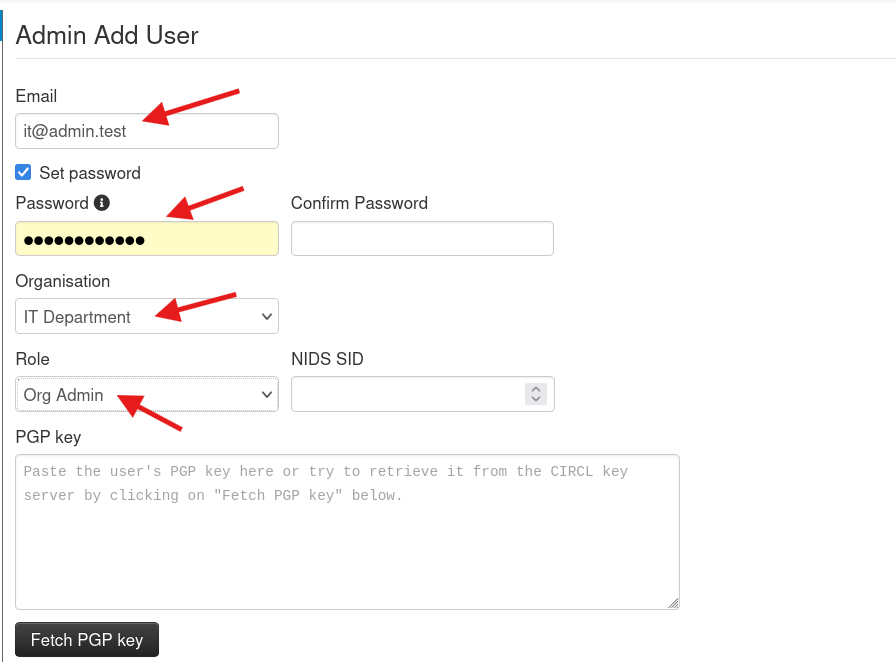
Now go to MISP dashboard in my case the IP address is 10.0.3.9, After login change your password. Next let’s create a new organisation and a new user, We can head over to Administration > Add Organisation. You can name it any name you want, I’ll name mine to IT Department and clik submit. Next step we need to create a user account that is tied to the IT Department organisation. Go to Administration > Add user. The user name must be in an email format. After you are done click on Create User
The final step of the configuration in MISP is to create a Auth key, a Auth key is what make all this integration between TheHive and Cortext. In order to set up a Auth key click on the little view icon.

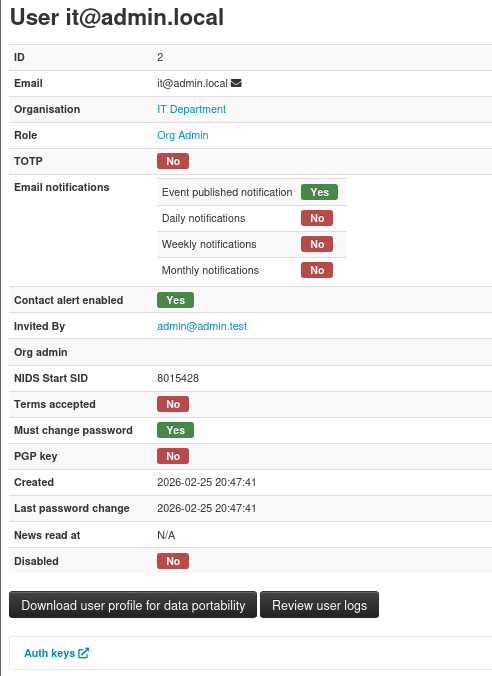
Now click on the Auth keys and select Add authentication key. Select our user and click submit, Don’t forget to save your auth key because we’ll use it again.

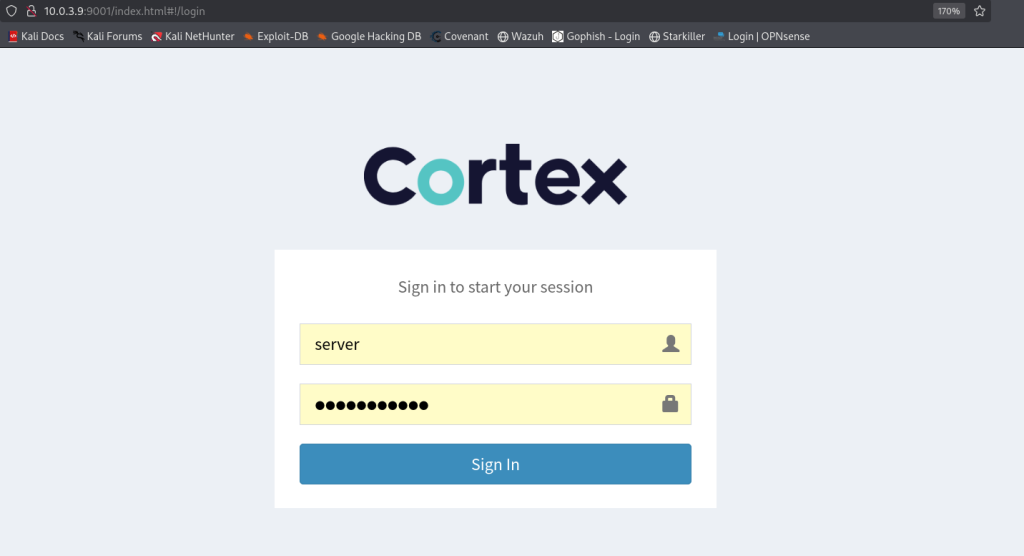
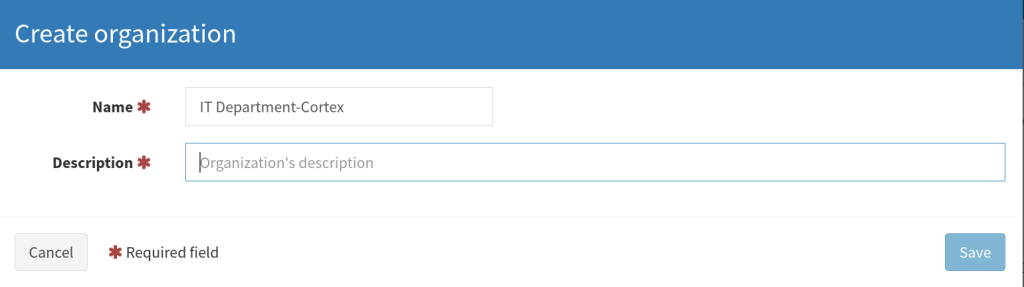
Now let’s open Cortex and follow similar steps, Cortext IP Address 10.0.3.9:9001, Next click on Add Organization and give it a name and save.

Now let’s add a user and create an API key that we’ll use later, go over to users and click on Add user.

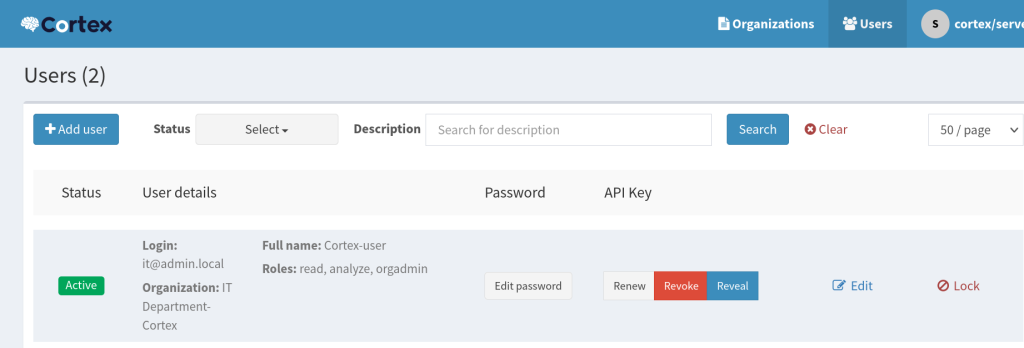

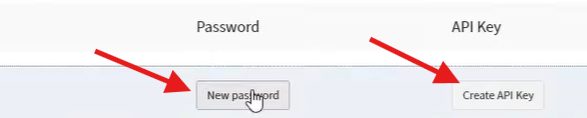
Next we need to set up password for this user click on New password and put your password, and create an API key, Copy the API key.
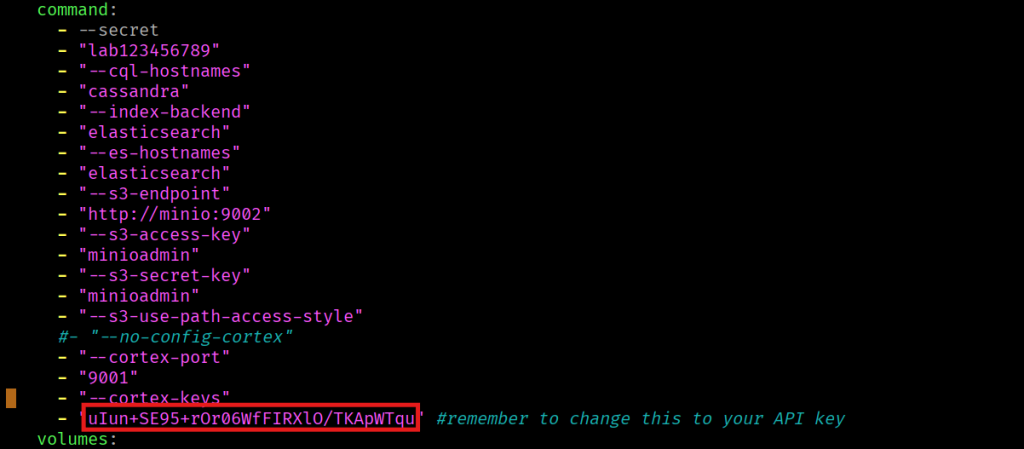
Next we need to put our docker compose offline to make changes to the docker-composer.yaml file

Let’s open the yaml file by typing sudo nano docker-compose.yml

Replace this key to your Cortex key
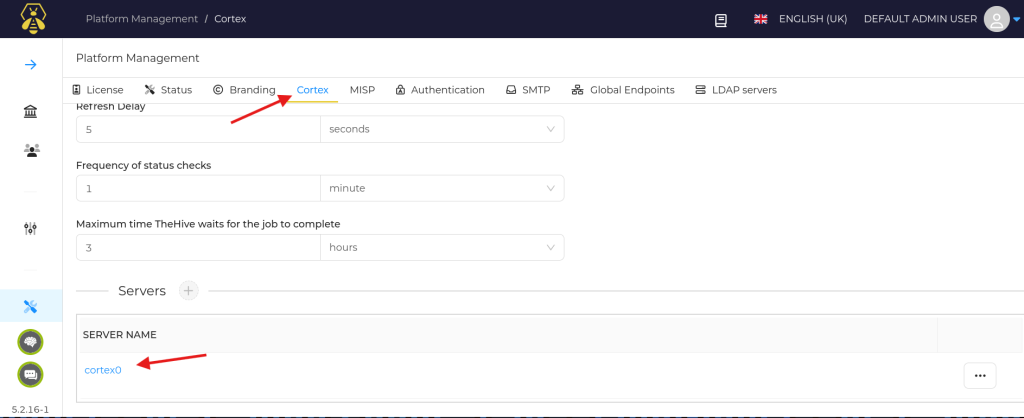
Now we need to add our MISP API key, open Thehive and navigate to platform management, go to Cortex tab and you can see we have our Cortex set up, if you open it you can see all the information including our API key.
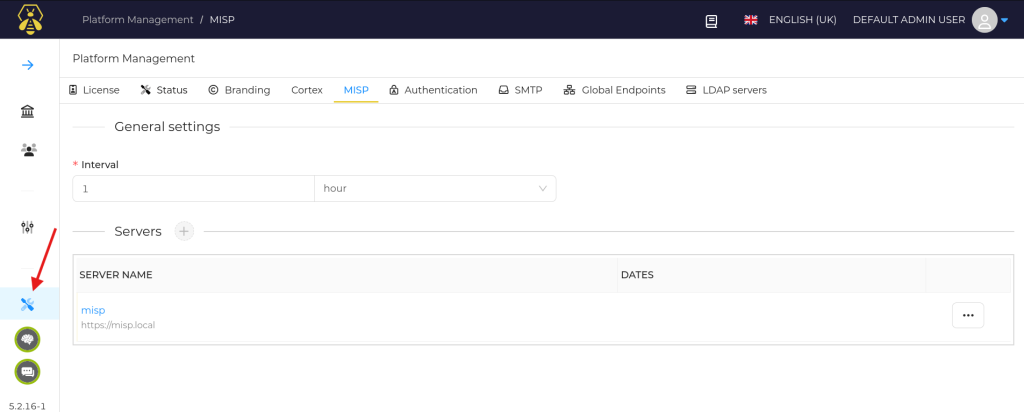
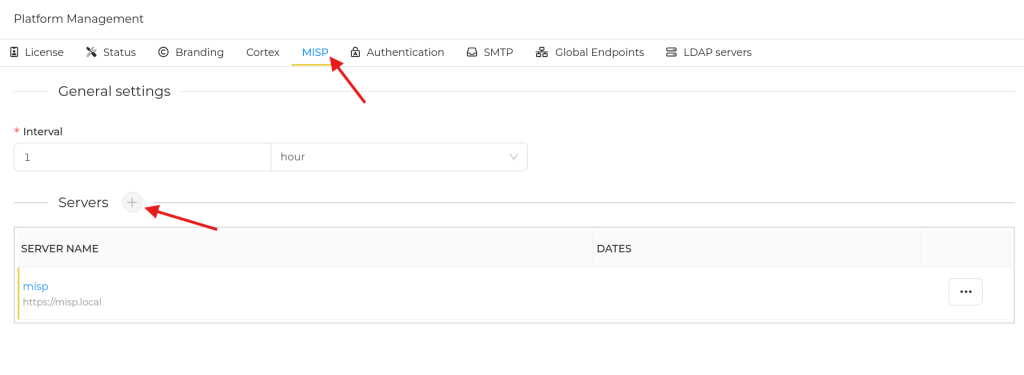
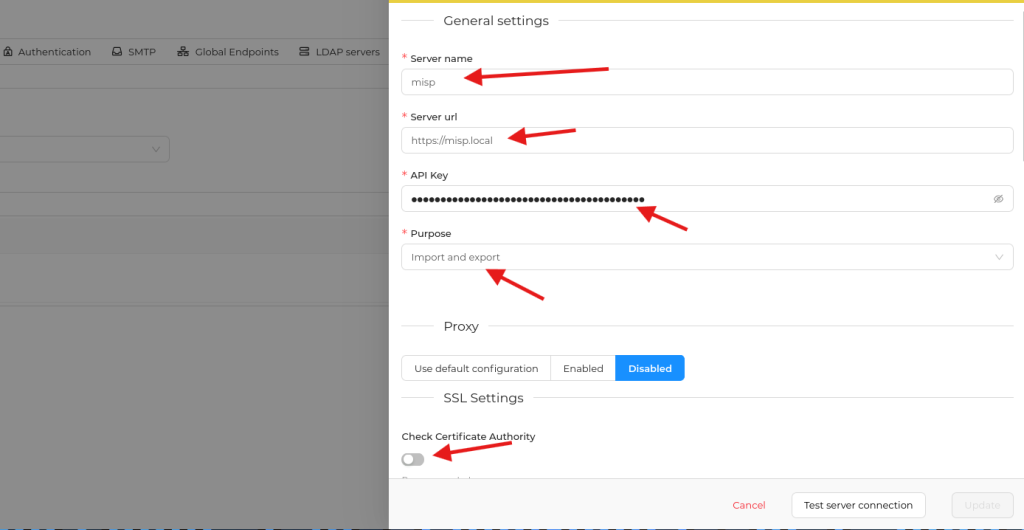
Next click on MISP and change the setting make sure you include your MISP API key, And click Update
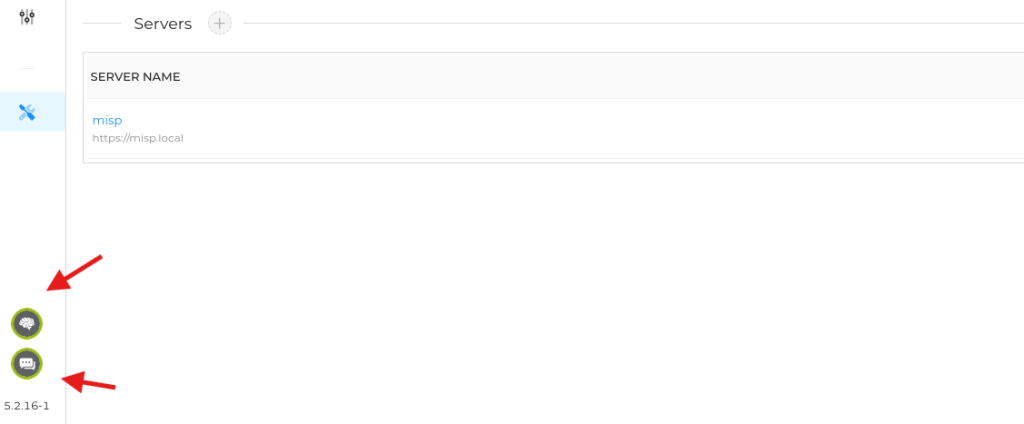
You should see the Cortex icon and the MISP icon in green which means both servers are online.
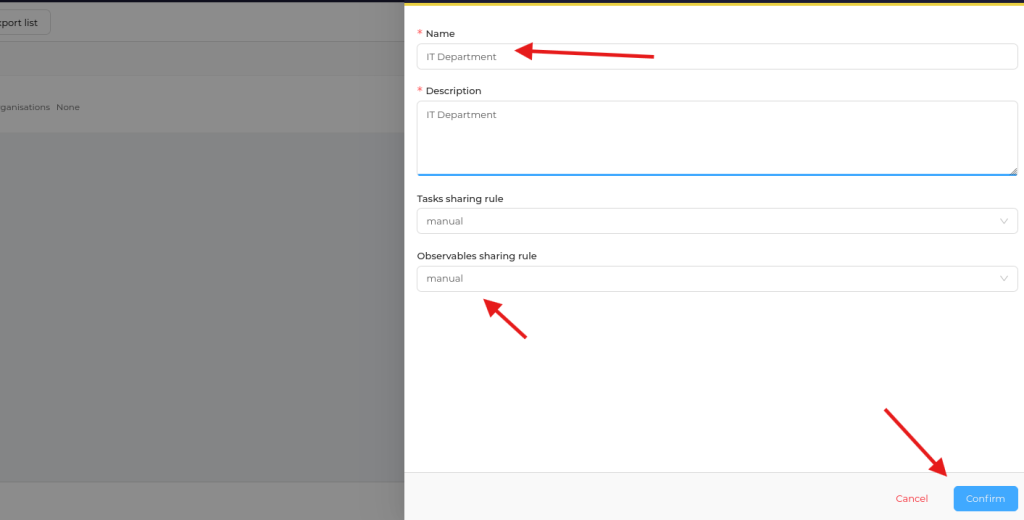
Let’s create an organisation and a user, click on organisation, give it a name and click on confirm.


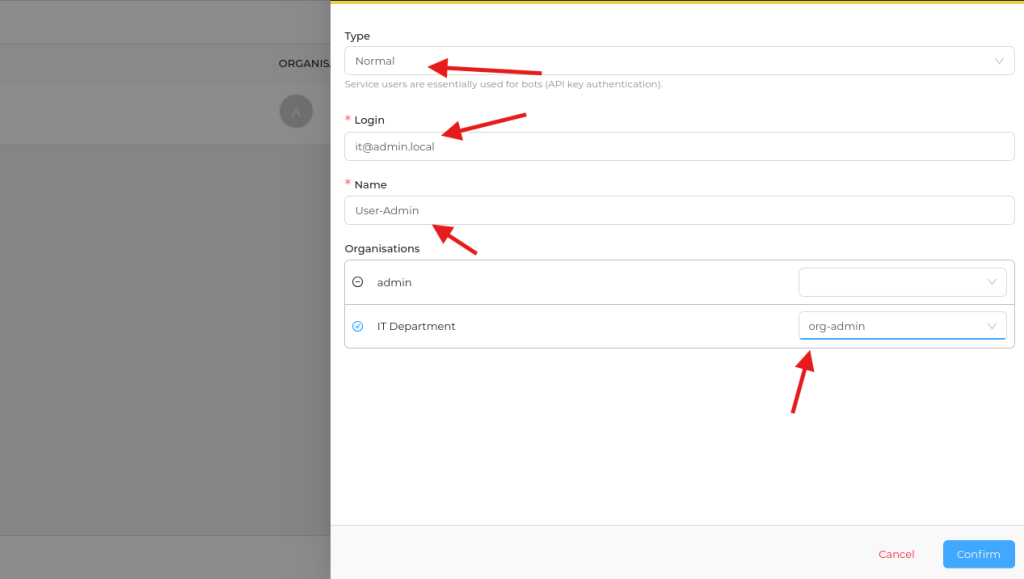
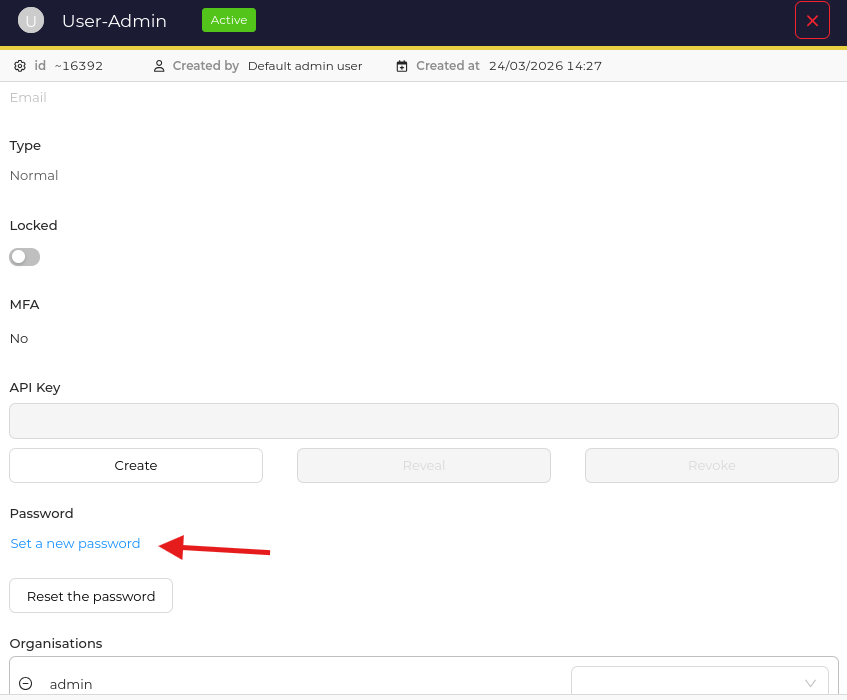
To create a user is the same process click on users and add user and give it a name, you need to create a password for our new user by clicking on preview


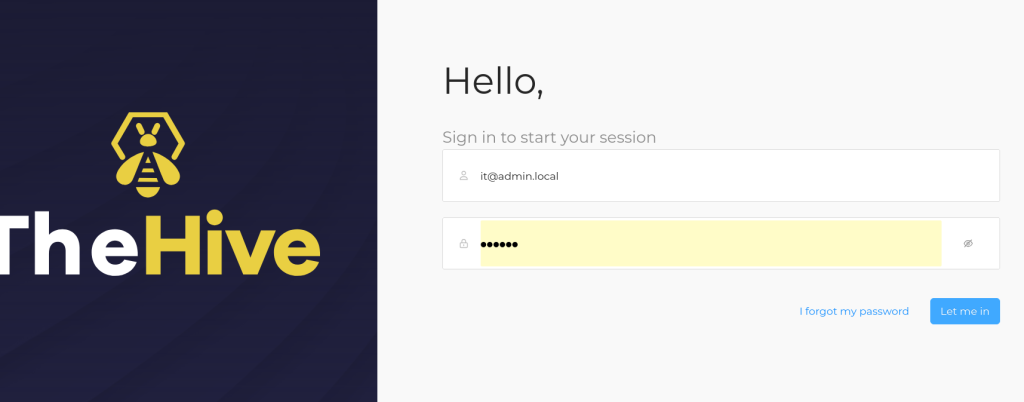
Let’s login with our new user.
Great all the best for the next series 🙂