
Introduction to OPNsense #
OPNsense is a stateful firewall forked from pfSense. It offers features such as multi-WAN support for load balancing, virtual private networking, hardware failover, SD-WAN, intrusion detection and prevention add-ons, routing protocols, web filtering and proxy, and next-gen firewall features via Sensei.
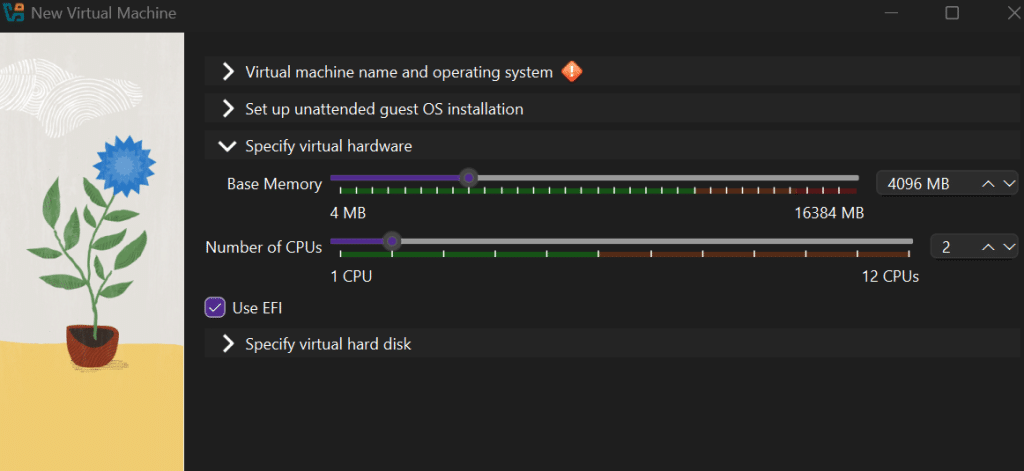
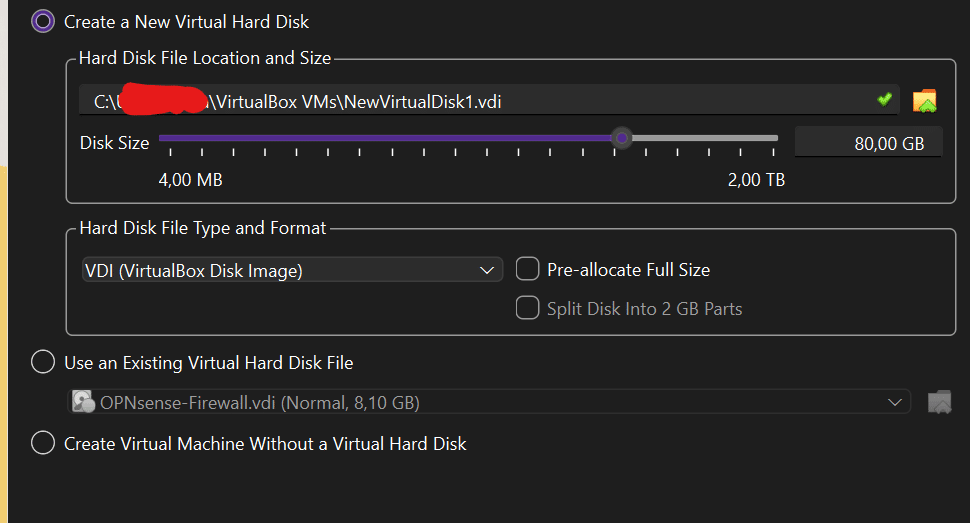
System Requirements: For a virtualized setup, OPNsense requires one or more virtual cores, a minimum of 2GB RAM, and a minimum 8GB virtual disk size.
- Downloading and Preparing Installation Media: Go to OPNsense

After Downloading you need to go to this website https://gnuwin32.sourceforge.net/packages/bzip2.htm and get Bzip2
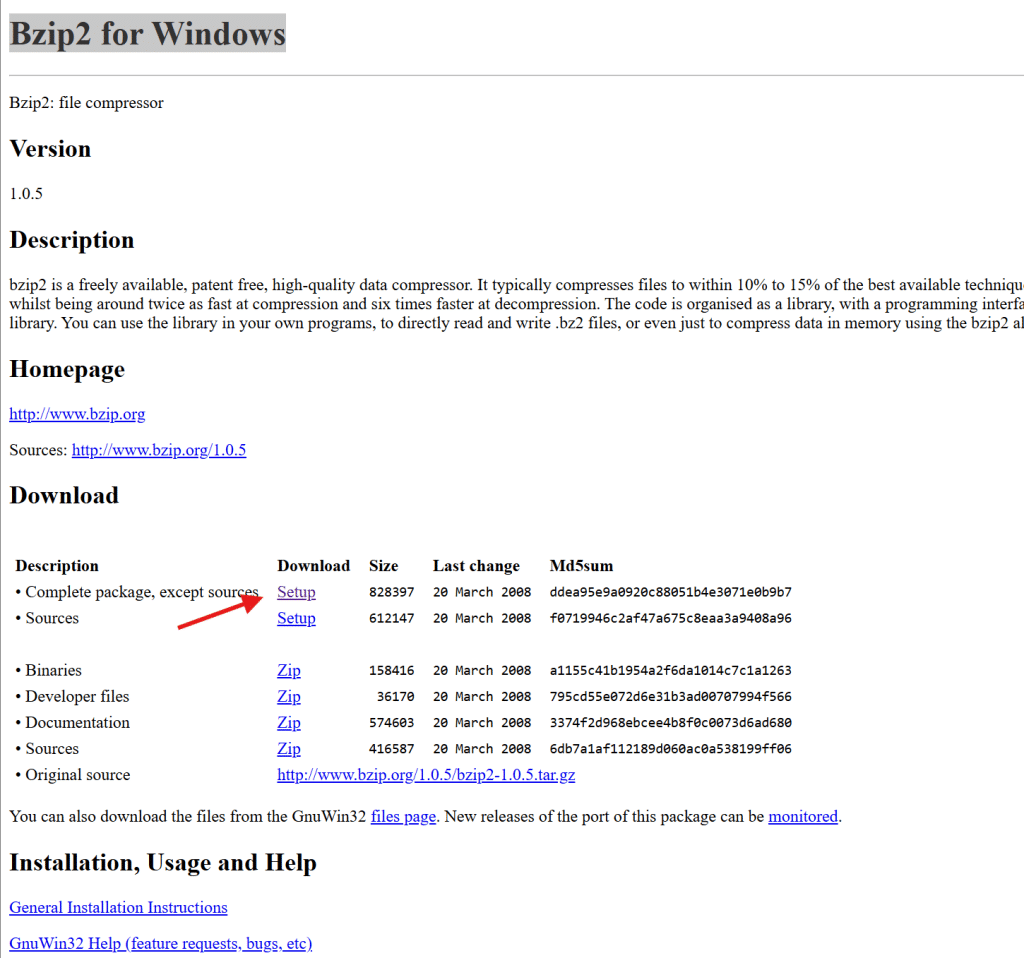
and install the software. After Opnsense is done downloading locate where you saved it. You need to open up Powershell go to Program Files (x86)\GnuWin32\bin
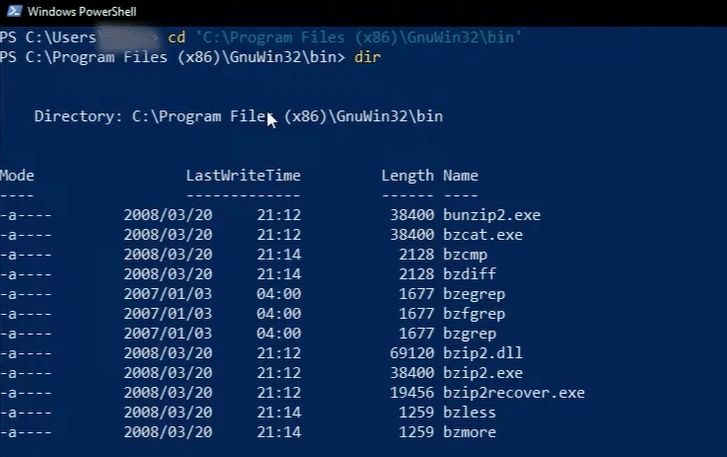
We going to use the bunzip2.exe, Now we need to run it with our Opnsense ISO we downloading by using this command .\bunzip2.exe -d D\opnsense\OPNsense-22.1-Openssl-dvd-amd64.iso.bz2 The -d should be the path you saved the ISO. Next we will setup a virtualBox

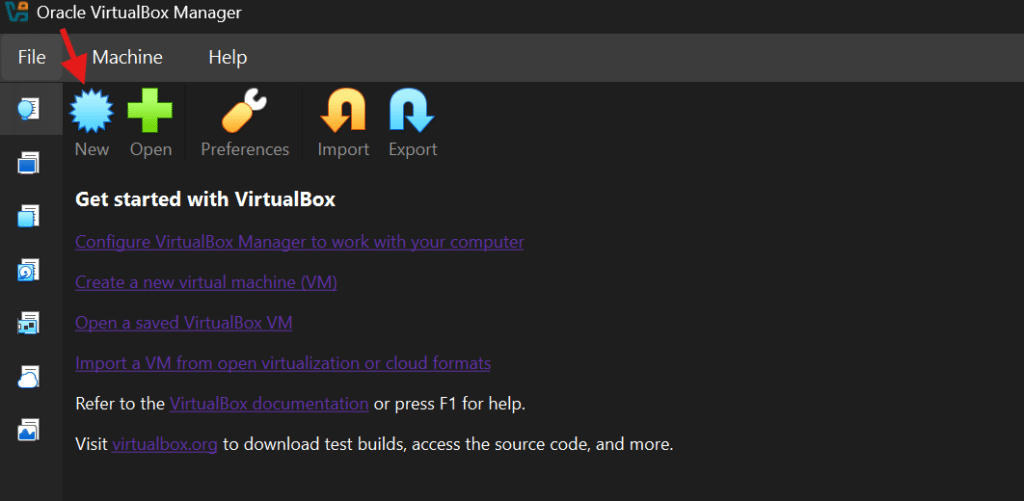
VirtualBox Setup #
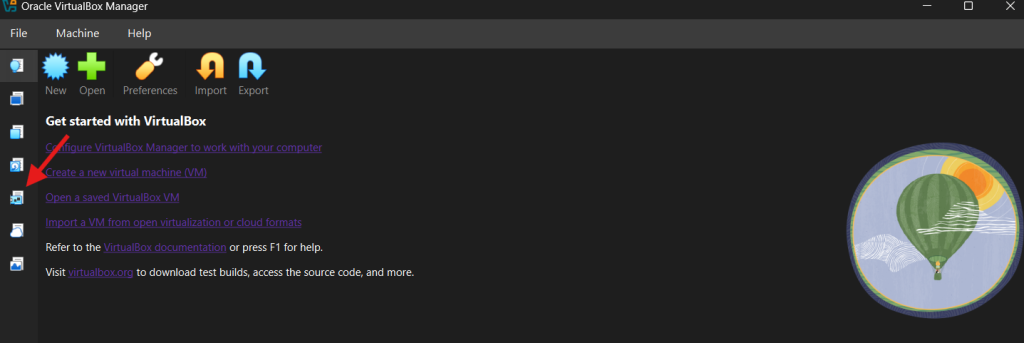
Open VirtualBox, If you do not have it installed check this blog, So now create a new machine.

Next we need to set up our network configuration for our lab.
Network Configuration in VirtualBox #
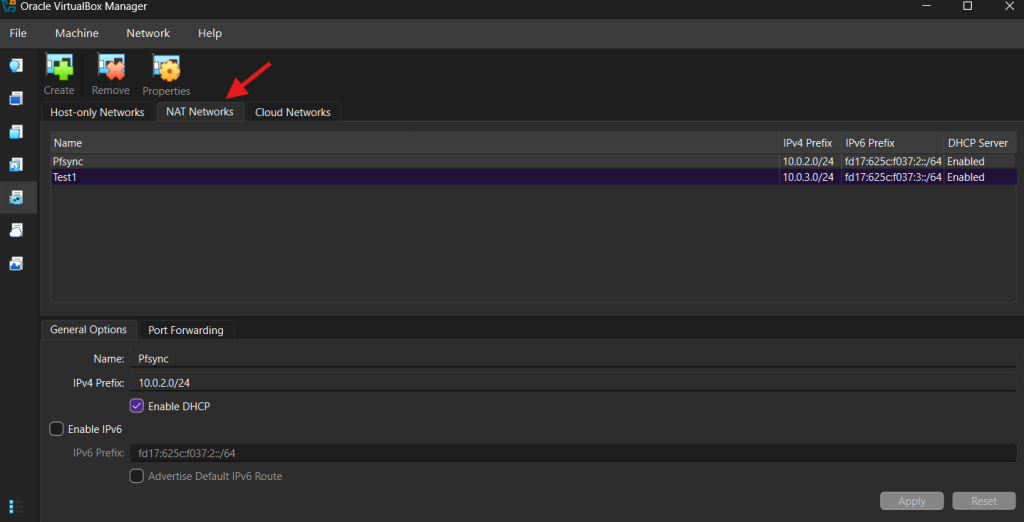
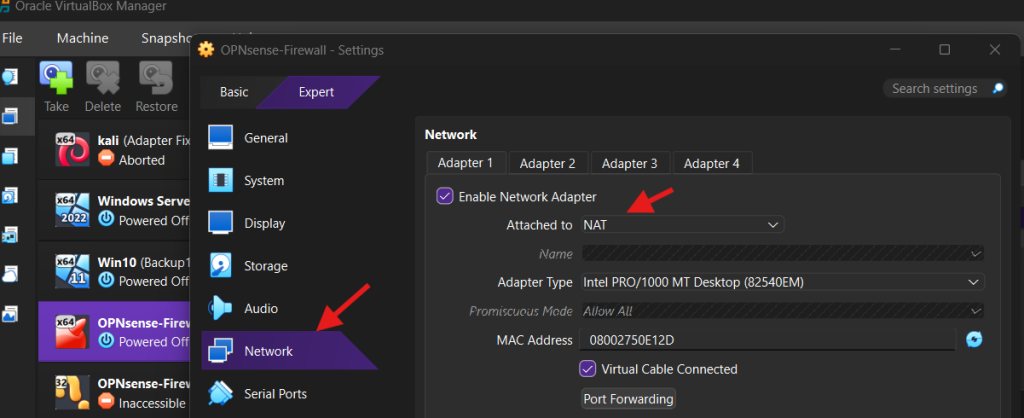
For Opnsense to work correctly we need to set up two Network interfaces, One for the WAN that’s connected to the internet connection and other that’s connected to LAN, Make sure you follow this process. Open VirtualBox and click on the Network tab
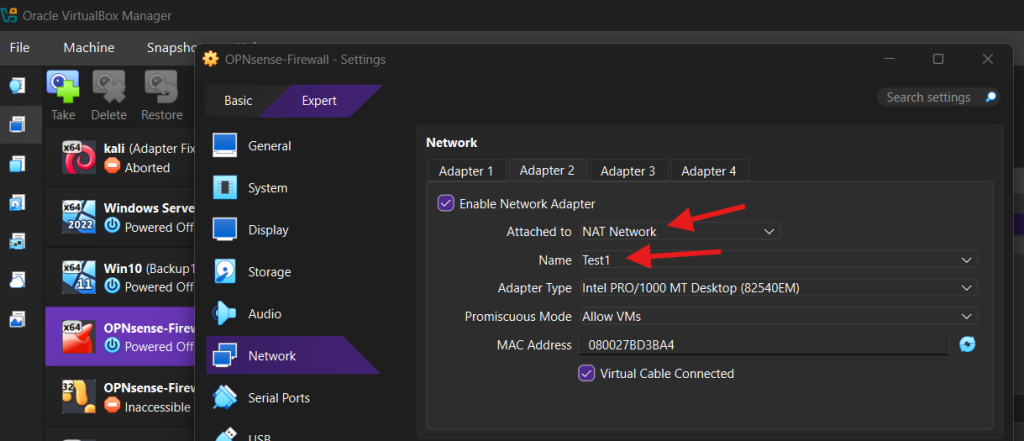
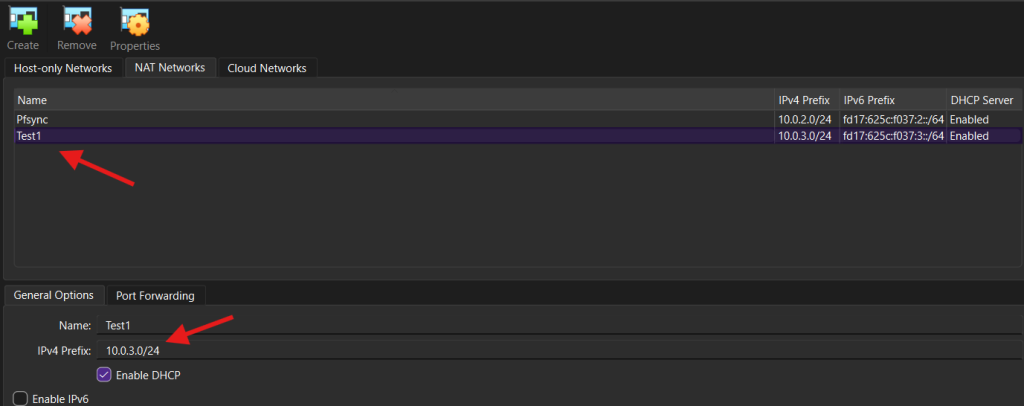
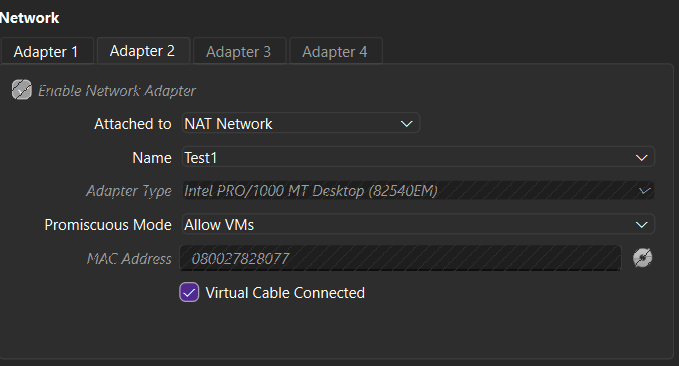
After that click on the NAT Networks, I’v Already creation my NAT Network, in order to create, click on the Create button it’ll add a new interface rename it to anything you want for example i named mine Test1 and give it and IP/24 and click Apply

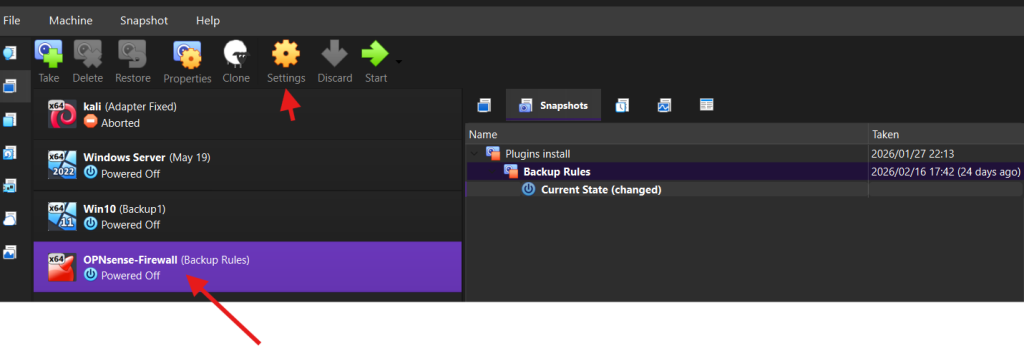
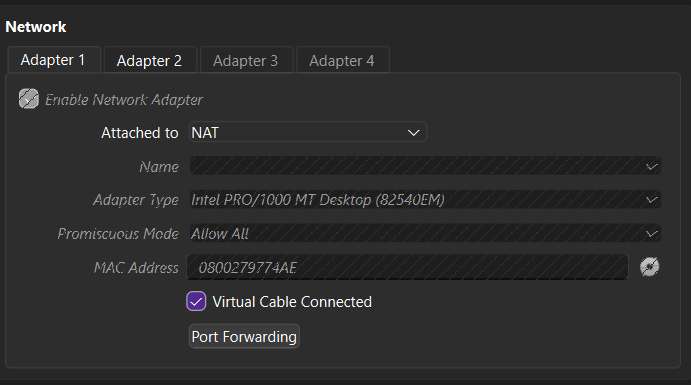
Now go to the Opnsense machine setting, click on, make sure Adapter 1 is set to NAT and Adapter 2 to the new interface you created and click OK
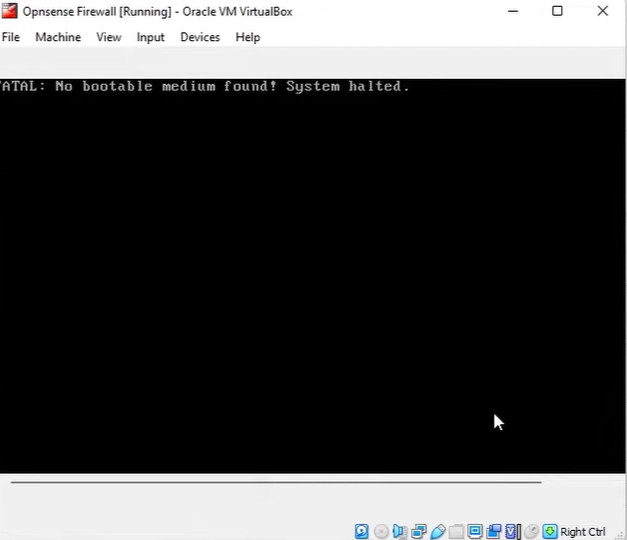
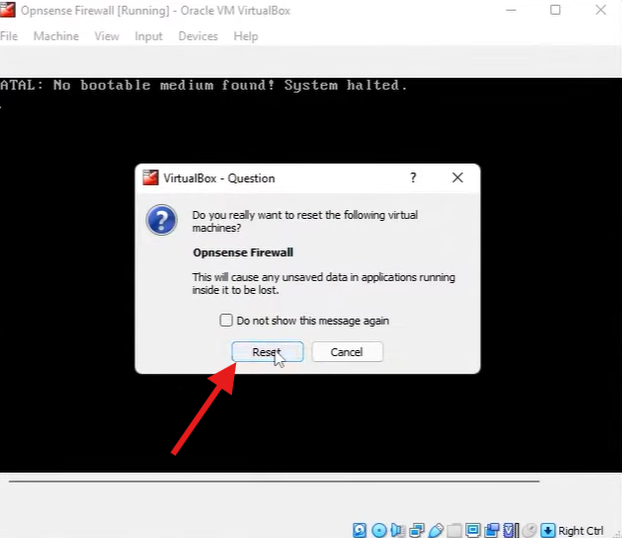
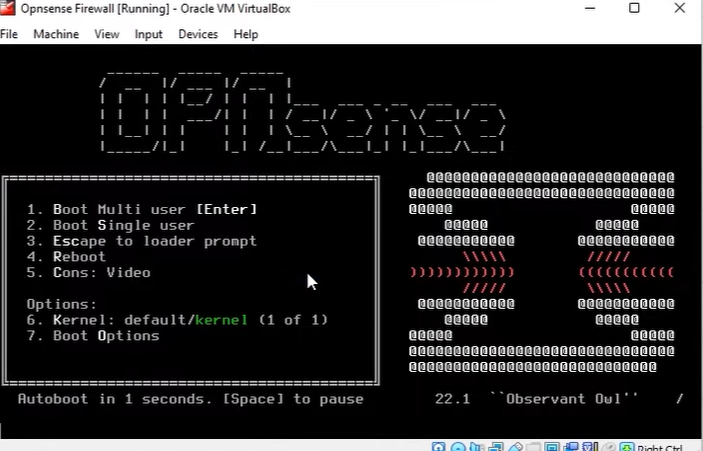
Now you start Opnsense machine. You will see a prompte may appear if it’s the first that you’re installing a image (iso) which will ask you to mount you iso image you can just click on the dialog box and follow the windows prompts and will help you to mount the image (iso), I’ve already install it so i’m getting this message.
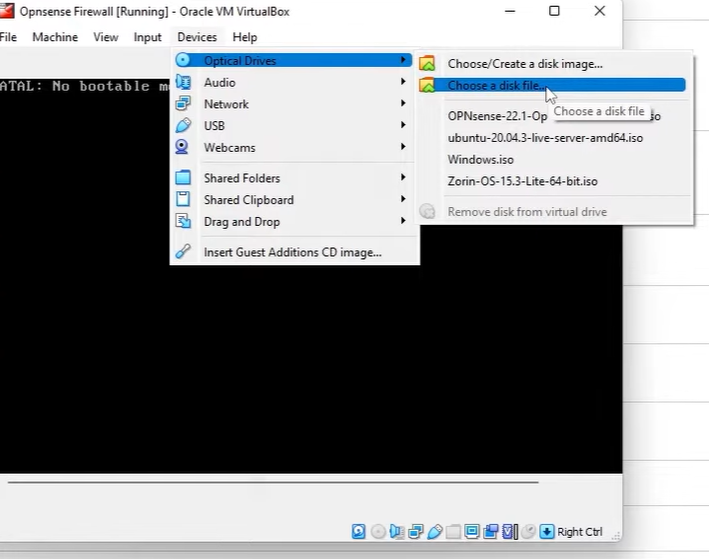
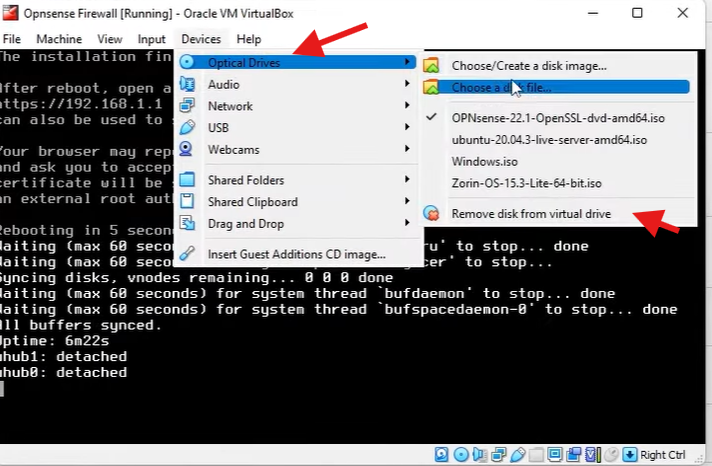
Select Devices > Optical Drives and choose a disk file which in our case is Opnsense iso image
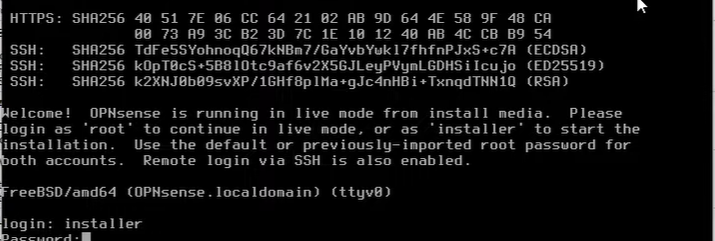
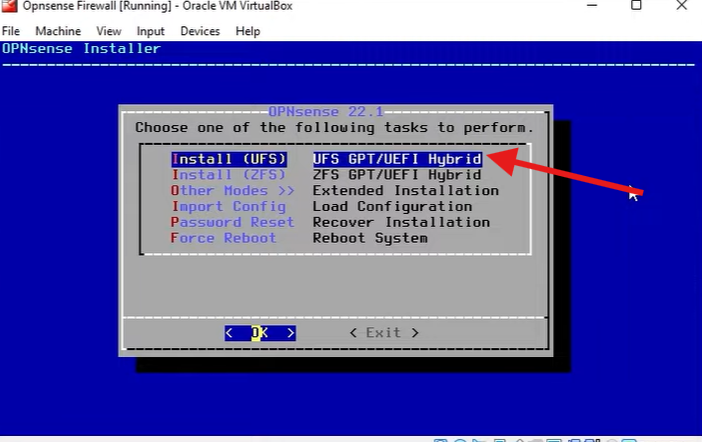
After the installation is finish, now we need to login with the username: installer and the Default password: opnsense
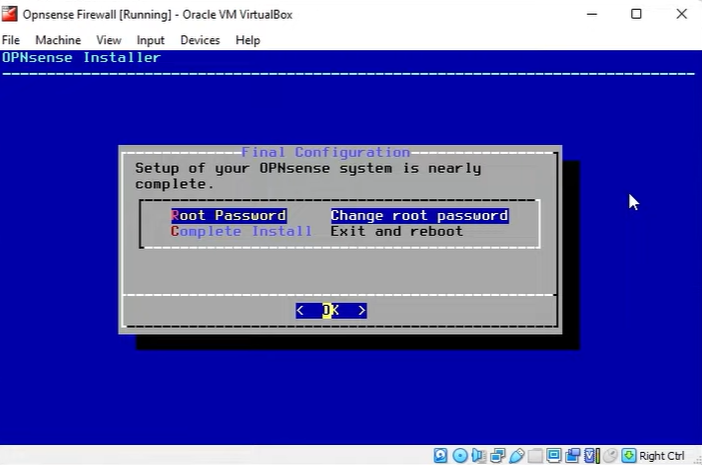
Next change the root password. After change the password you need to click on Exit and Reboot
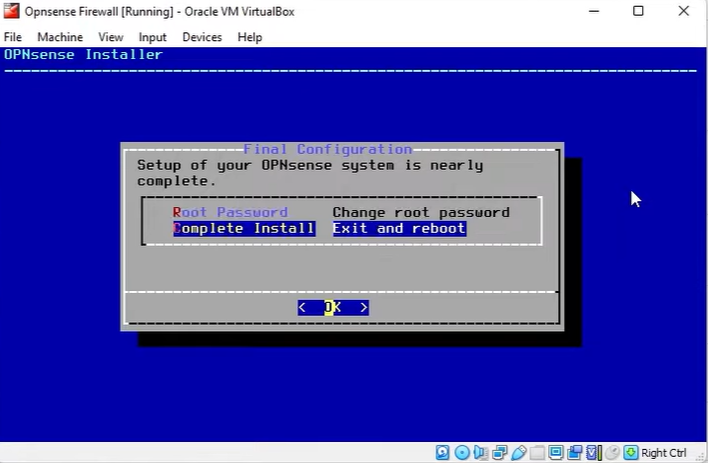
The system will reboot then you need to remove the iso image.
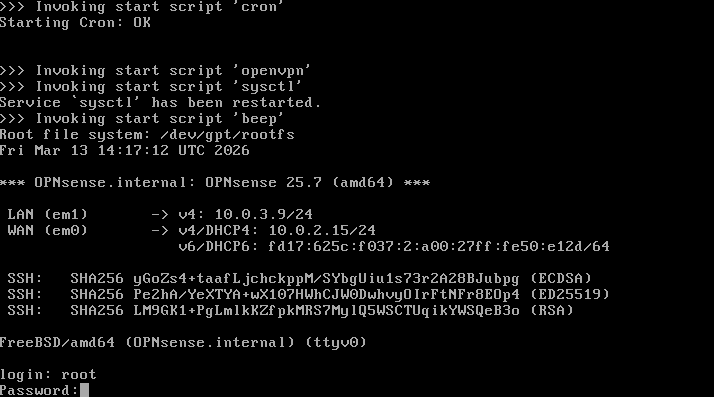
Login using the username and password
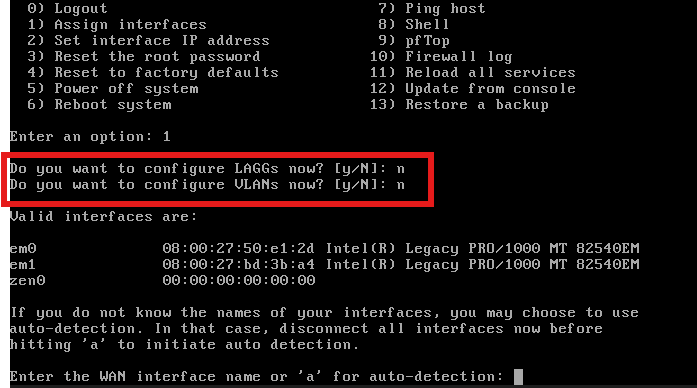
Now we need to assign the interfaces, We will enter 1, Then we will select n
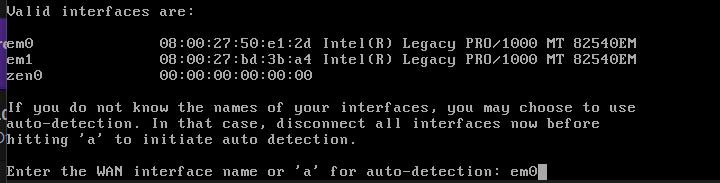
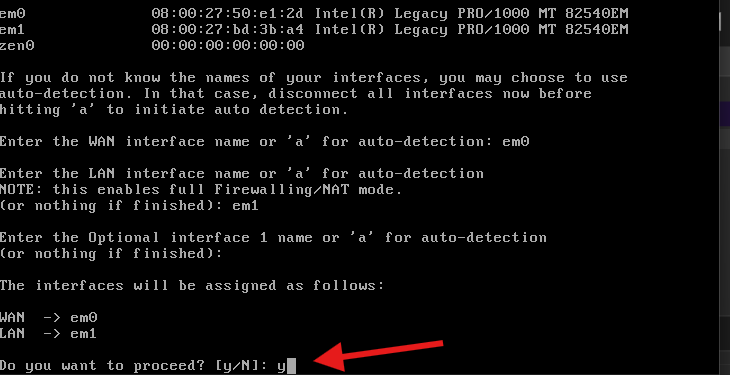
Now we need to select our WAN and LAN interface, First we need to select WAN interface which is the em0 and press ENTER
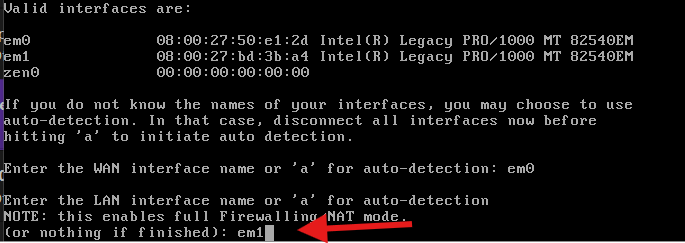
And the LAN em1
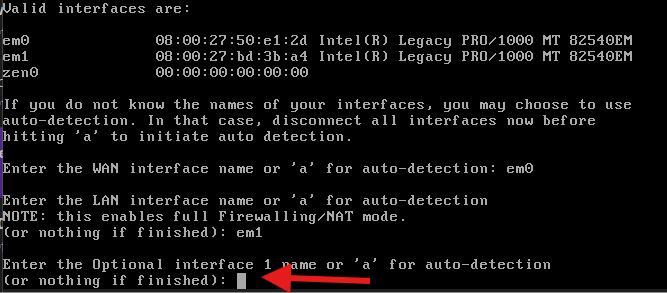
Leave this section to default for optional interface 1 name Press ENTER
And select y to proceed.
Once it’s done that we will then set up our IP Address for both WAN and LAN interface
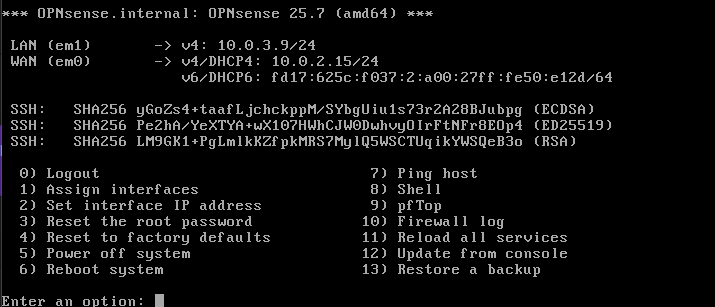
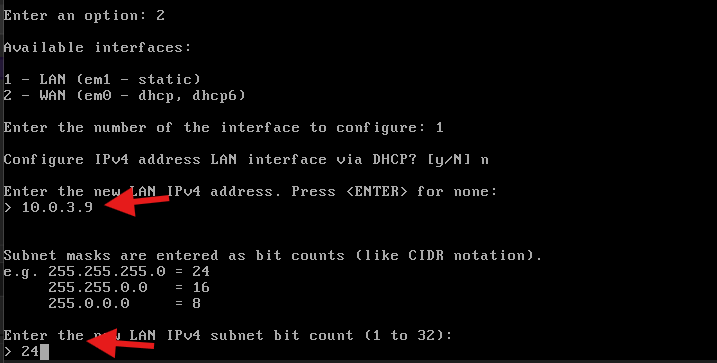
The Select number 2 to set the interface IP Address
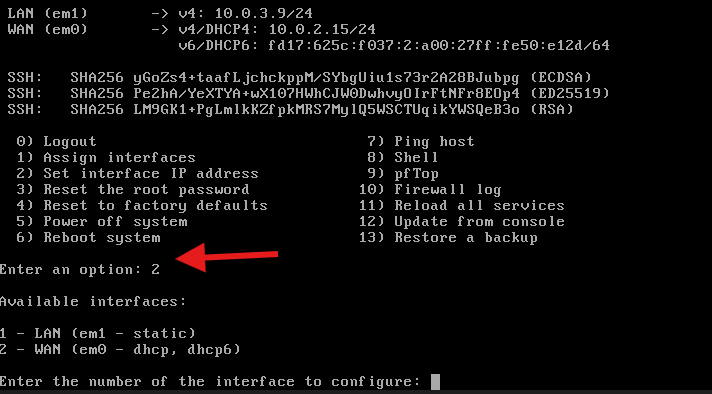
Choose interface 1 which is the LAN and select NO fo DHCP NO
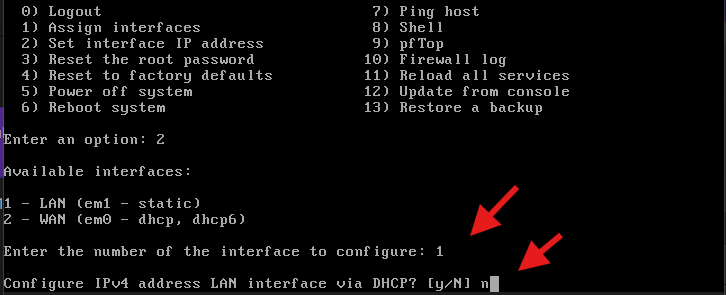
Note!! We created our NAT Network on our VirtualBox in my case it was Test1 with the IP Address of 10.0.3.0/24. I’ll give me Opnsense an IP of 10.0.3.9 and a subnet range of 24 and Press ENTER
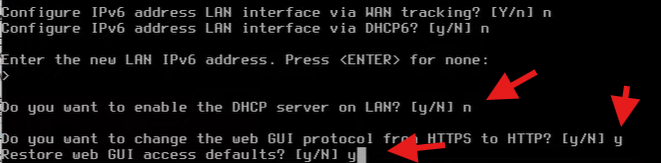
The leave the WAN to Default press ENTER.

And leave this to default press ENTER. and LAN DHCP to NO

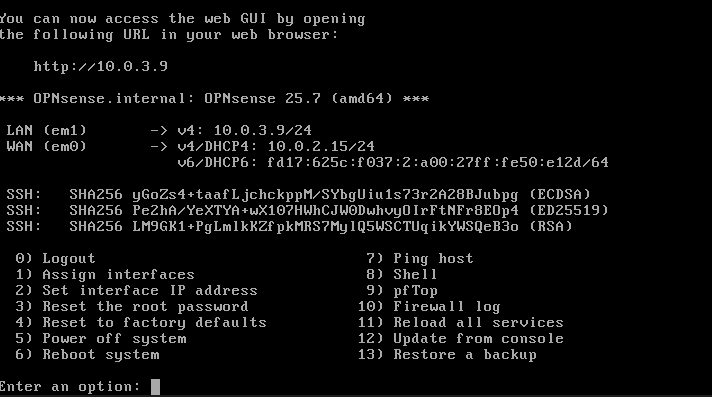
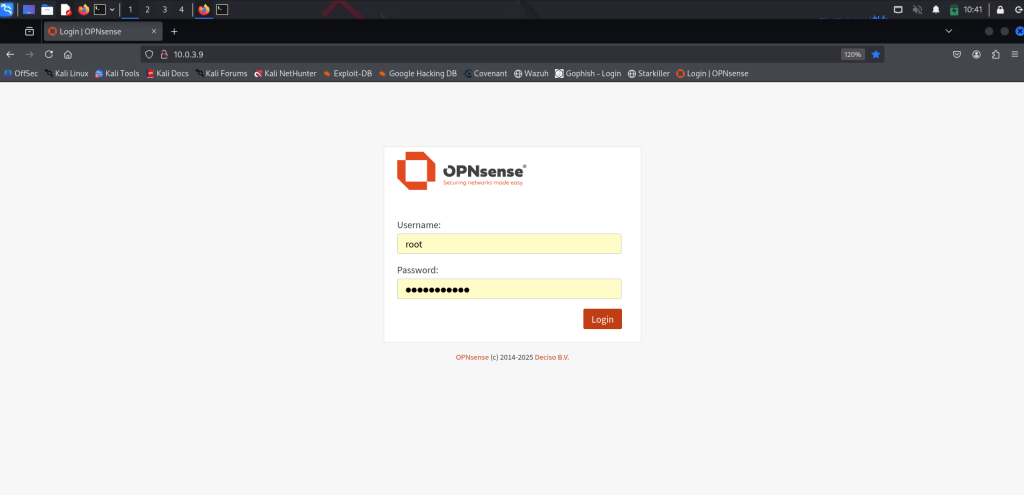
Now we should access Opnsense via Web Gui
Now start your kali machine, if you do not have kali yet check this link
Make sure your kali has the same interface as Opnsense
Go to kali open any browser and type Opnsense IP address, in my case is 10.0.3.9
Next we’ll install Suricata IDS/IPS on Opnsense.