
We’ll install TheHive, Cortex & MISP with Docker containers and Docker Compose. These tools help cyber security professionals manage and respond to incidents efficiently.
Here’s a breakdown of what each tool does:
TheHive #
The hive is an open-source Security Incident Response Platform (SIRP) used to manage and track security incidents on a case-by-case basis.
Cortex #
is an observable analysis and active response engine that automates the enrichment of indicators like IP addresses, domains, and files. It analyzes observables found during an incident and provides intelligence from various sources.
MISP (Malware Information Sharing Platform) #
is a platform for sharing and gathering security intelligence. It helps collect, store, share, and correlate cyber security indicators and threats.
Docker #
is an open-source containerization platform that packages applications and their dependencies into isolated containers, making them portable and easy to deploy.
Docker Compose #
is a tool that allows you to define and run multiple Docker containers at once using a single YAML file, simplifying multi-container application deployments.
How they work together: When an incident occurs, TheHive manages the case. Cortex analyzes suspicious observables from the incident, and MISP provides external threat intelligence and facilitates sharing new findings.
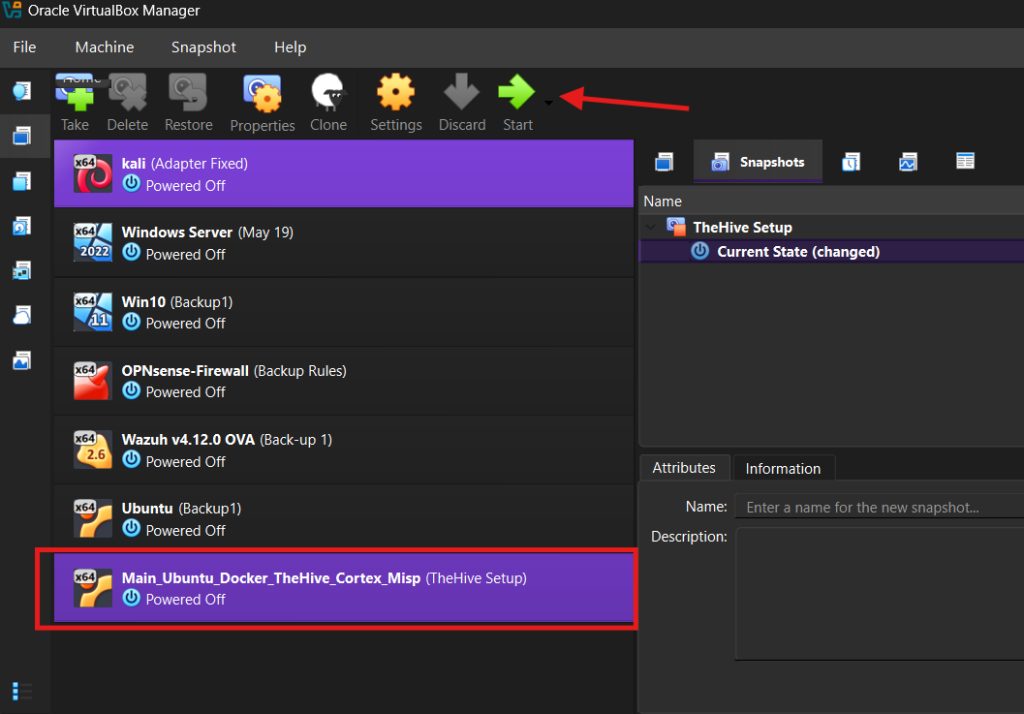
In oder to install TheHive, Cortex & MISP you need to install them on the Ubuntu server if you do not have it yet check this video will show you how to do it. And make sure that is on the same network as where we installed the Wazuh SIEM. Allocate at least 8 GB of memory and 2-4 virtual processors to the VM, as TheHive, Cortex, and MISP require several supporting database services.
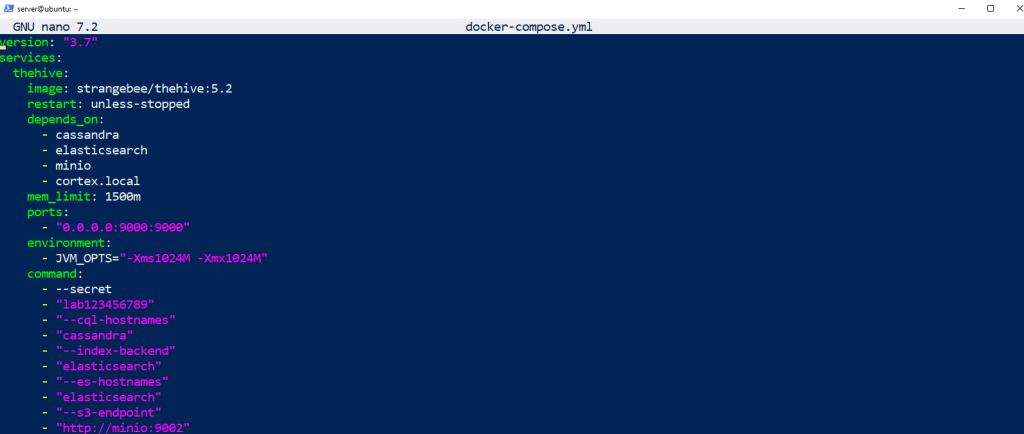
We will be using Docker Compose to deploy this lab, It will allows us to define and run multiple containers at once using YAML file (.yaml or .yml)
version: "3.7"
services:
  thehive:
    image: strangebee/thehive:5.2
    restart: unless-stopped
    depends_on:
      - cassandra
      - elasticsearch
      - minio
      - cortex.local
    mem_limit: 1500m
    ports:
      - "0.0.0.0:9000:9000"
    environment:
      - JVM_OPTS="-Xms1024M -Xmx1024M"
    command:
      - --secret
      - "lab123456789"
      - "--cql-hostnames"
      - "cassandra"
      - "--index-backend"
      - "elasticsearch"
      - "--es-hostnames"
      - "elasticsearch"
      - "--s3-endpoint"
      - "http://minio:9002"
      - "--s3-access-key"
      - "minioadmin"
      - "--s3-secret-key"
      - "minioadmin"
      - "--s3-use-path-access-style"
      #- "--no-config-cortex"
      - "--cortex-port"
      - "9001"
      - "--cortex-keys"
      - "uIun+SE95+rOr06WfFIRXlO/TKApWTqu" #remember to change this to your API key
    volumes:
      - ./thehive/conf/application.conf:/etc/thehive/application.conf
    #If you are familiar with the previous docker compose file you will note that the Cortex ports and keys have been omitted this is because we can now
    #complete the integration from TheHive GUI directly.
   # volumes:
     # - thehivedata:/etc/thehive/application.conf
    networks:
      - Test1 #Change this to your Network

  cassandra:
    image: 'cassandra:4'
    restart: unless-stopped
    ports:
      - "0.0.0.0:9042:9042"
    environment:
      - CASSANDRA_CLUSTER_NAME=TheHive
    volumes:
      - cassandradata:/var/lib/cassandra
    networks:
      - Test1 #Change this to your Network

  elasticsearch:
    image: docker.elastic.co/elasticsearch/elasticsearch:7.17.9
    restart: unless-stopped
    mem_limit: 512m
    ports:
      - "0.0.0.0:9200:9200"
    environment:
      - discovery.type=single-node
      - xpack.security.enabled=false
      - cluster.name=hive
      - http.host=0.0.0.0
      - "ES_JAVA_OPTS=-Xms256m -Xmx256m"
    volumes:
      - elasticsearchdata:/usr/share/elasticsearch/data
    networks:
      - Test1 #Change this to your Network


  minio:
    image: quay.io/minio/minio
    restart: unless-stopped
    command: ["minio", "server", "/data", "--console-address", ":9002"]
    environment:
      - MINIO_ROOT_USER=minioadmin
      - MINIO_ROOT_PASSWORD=minioadmin
    ports:
      - "0.0.0.0:9002:9002"
    volumes:
      - "miniodata:/data"
    networks:
      - Test1 #Change this to your Network


#appended .local onto the container name because when we integrate cortex with TheHive using the new GUI menu it only accept a FQDN.
  cortex.local:
    image: thehiveproject/cortex:latest
    restart: unless-stopped
    environment:
      - job_directory=/tmp/cortex-jobs
      - docker_job_directory=/tmp/cortex-jobs
    volumes:
      #For analyzers and responders (called neurons, also based on docker containers) to work, we need to bind the hosts docker socket into the cortex container
      #so it can use the docker service of the host, and share the job directory between the container and the host.
      #An alternative way of doing this would be to run docker (neurons) within the cortex docker container (docker-ception), the container will need to be run in
      #privileged mode and you will need the --start-docker parameter for this work. It is however not advised to run docker containers in priviliged mode because it
      #grants the docker container root capabilities over the host system which is a security risk.
      - /var/run/docker.sock:/var/run/docker.sock
      - /tmp/cortex-jobs:/tmp/cortex-jobs
      - ./cortex/logs:/var/log/cortex
      - ./cortex/application.conf:/cortex/application.conf
    depends_on:
      - elasticsearch
    ports:
      - "0.0.0.0:9001:9001"
    networks:
      - Test1 #Change this to your Network
  #appended .local onto the container name because when we integrate MISP with TheHive using the new GUI menu it only accepts a FQDN.
  misp.local:
    image: coolacid/misp-docker:core-latest
    restart: unless-stopped
    depends_on:
      - misp_mysql
    ports:
      - "0.0.0.0:80:80"
      - "0.0.0.0:443:443"
    volumes:
      - "./server-configs/:/var/www/MISP/app/Config/"
      - "./logs/:/var/www/MISP/app/tmp/logs/"
      - "./files/:/var/www/MISP/app/files"
      - "./ssl/:/etc/nginx/certs"
    environment:
      - MYSQL_HOST=misp_mysql
      - MYSQL_DATABASE=mispdb
      - MYSQL_USER=mispuser
      - MYSQL_PASSWORD=misppass
      - MISP_ADMIN_EMAIL=mispadmin@lab.local
      - MISP_ADMIN_PASSPHRASE=mispadminpass
      - MISP_BASEURL=localhost
      - TIMEZONE=Europe/London
      - "INIT=true"
      - "CRON_USER_ID=1"
      - "REDIS_FQDN=redis"
      - "HOSTNAME=http://10.0.3.5"
    networks:
      - Test1 #Change this to your Network

  misp_mysql:
    image: mysql/mysql-server:5.7
    restart: unless-stopped
    volumes:
      - mispsqldata:/var/lib/mysql
    environment:
      - MYSQL_DATABASE=mispdb
      - MYSQL_USER=mispuser
      - MYSQL_PASSWORD=misppass
      - MYSQL_ROOT_PASSWORD=mispass
    networks:
      - Test1 #Change this to your Network
  redis:
    image: redis:latest
    networks:
      - Test1
  misp-modules:
    image: coolacid/misp-docker:modules-latest
    environment:
      - "REDIS_BACKEND=redis"
    depends_on:
      - redis
      - misp_mysql
    networks:
      - Test1
  #removed the cortex volumes as we no longer require it, cortex will share the /tmp directory for jobs, the logs and application files will be stored in the cortex folder
  #in the same directory on the host where the docker-compose.yml resides for ease of access.
volumes:
  miniodata:
  cassandradata:
  elasticsearchdata:
  thehivedata:
  mispsqldata:

networks:
    Test1: #Change this to your Network
          driver: bridge
We will use this YAML file to install TheHive, Cortex & MISP make sure you change and include your Network in this file, I’ve mentioned where you should change everything you need in order to run the YAML file later on.
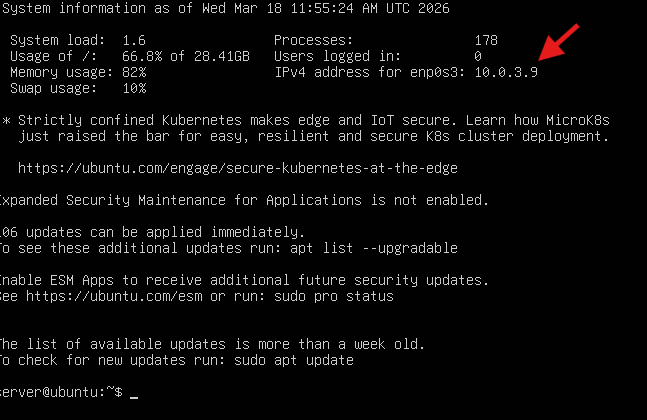
Now open Ubuntu server, As you can see the IP address of our ubuntu server
Next we need to create or enable ssh to install our docker-compose yaml file, you need first to update the system and install ssh, on your terminal type:
sudo apt update
sudo apt install openssh-server -ysudo systemctl status ssh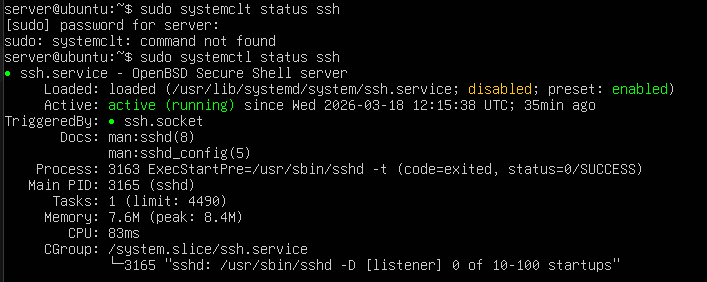
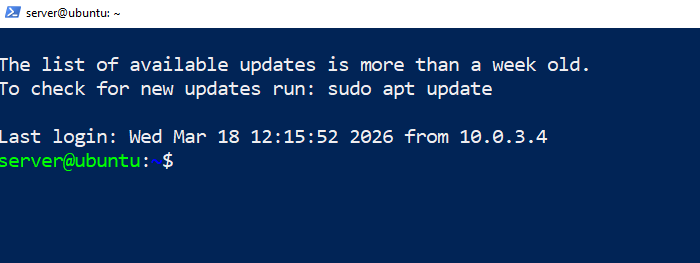
Now that our ssh is active let’s access it on our windows machine, Open powershell on windows and type ssh follow by the name the ubuntu server in my case is “server” and the IP address of the ubuntu server 10.0.3.9
ssh server@10.0.3.9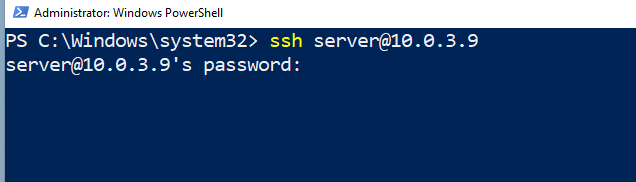
Install Docker-compose by running this command
sudo apt install docker.io docker-compose-v2 -yNext create a docker-compose yaml file by opening a text editor and copy our YAML file.
sudo nano docker-compose.yaml
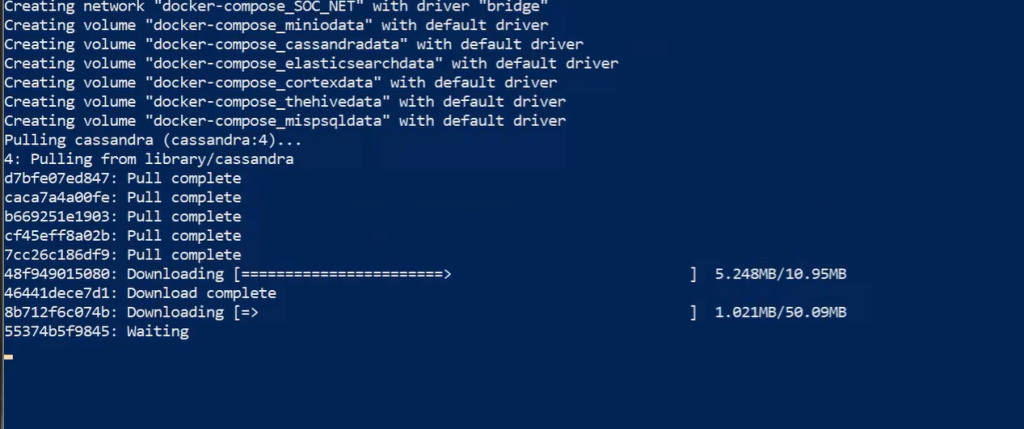
So to start with the deployment go back to the terminal and type
sudo docker-compose upIt’ll take a couple of minutes to download, After everything is done we should be able to access our servers from Web GUI. To verify if everything is running type sudo docker ps, This will check all the containers running on the server.
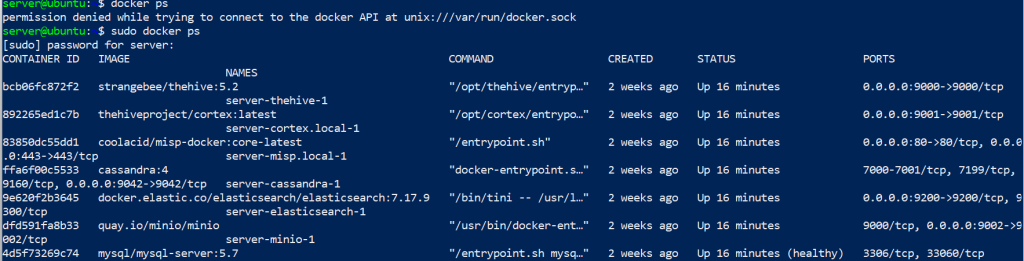
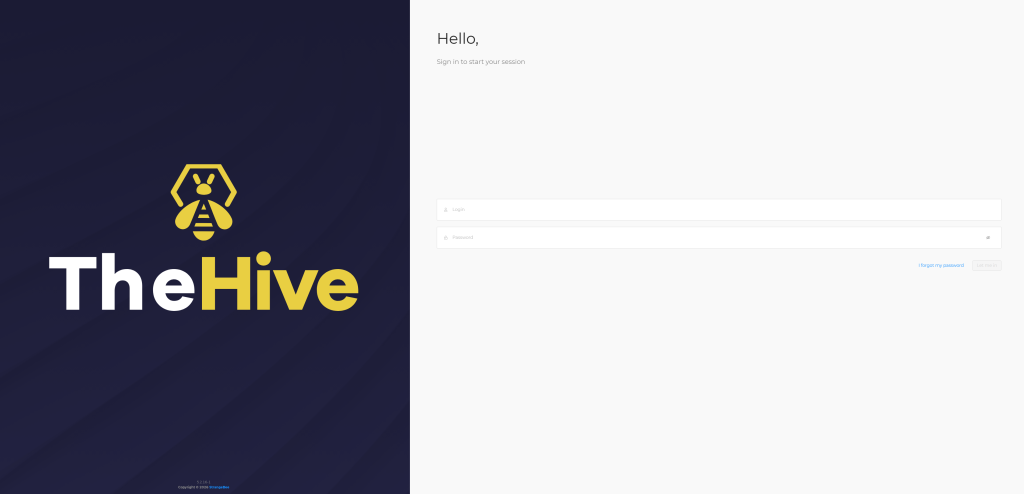
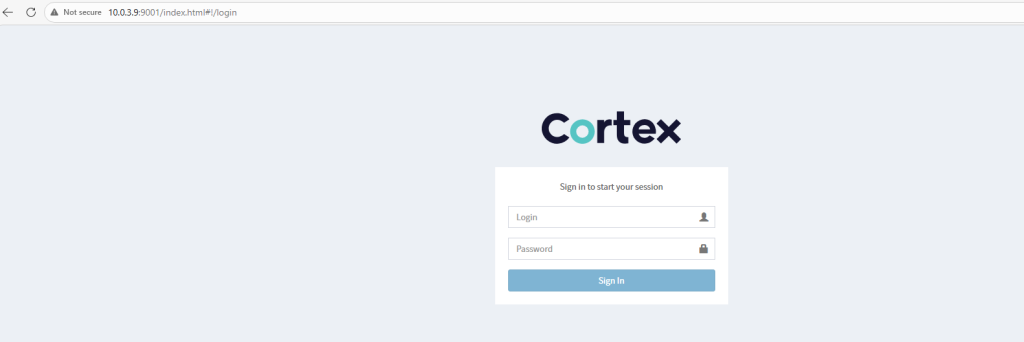
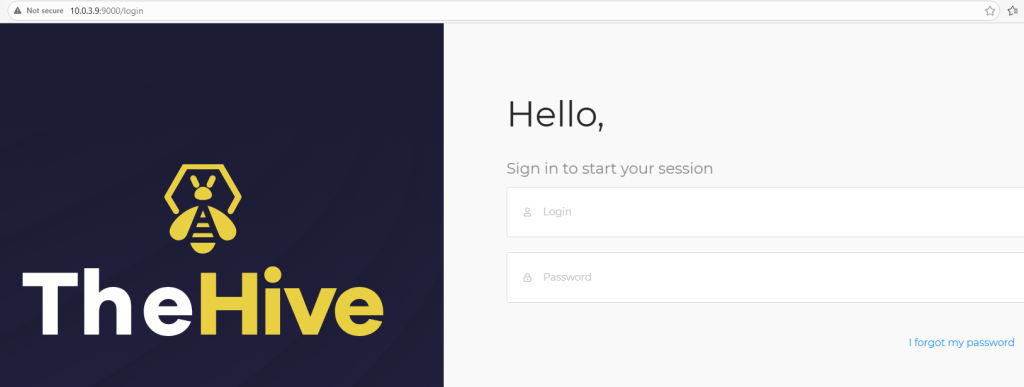
Open your web browser, Cortex port number is 90001 (Click on Update Database and set up a username and password), TheHive 9000 (default username : admin@thehive.local password: secret) and MISP should be your Ubuntu IP Address in my case is 10.0.3.9 and (default username: admin@admin.test and password: admin)


Great all the best for the next series 🙂