
This section focus on configuring Opnsense firewall by installing and setting up the intrusion detection system (IDS) and intrusion prevention system (IPS) features.
IDS and IPS Explanation #
IDS is a system that detects potential triggers or anomalies in network traffic based on signatures and patterns. IPS is a system tha has the same detection capabilities as IDS, with the added ability to block or deny anomalous traffic.
Initial Configuration #
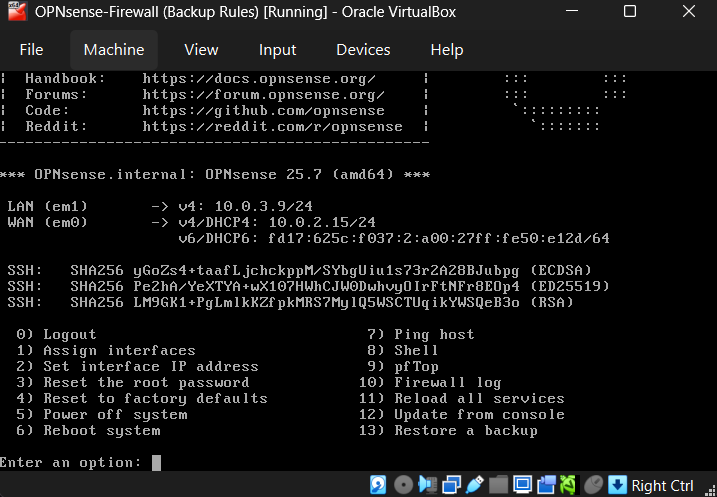
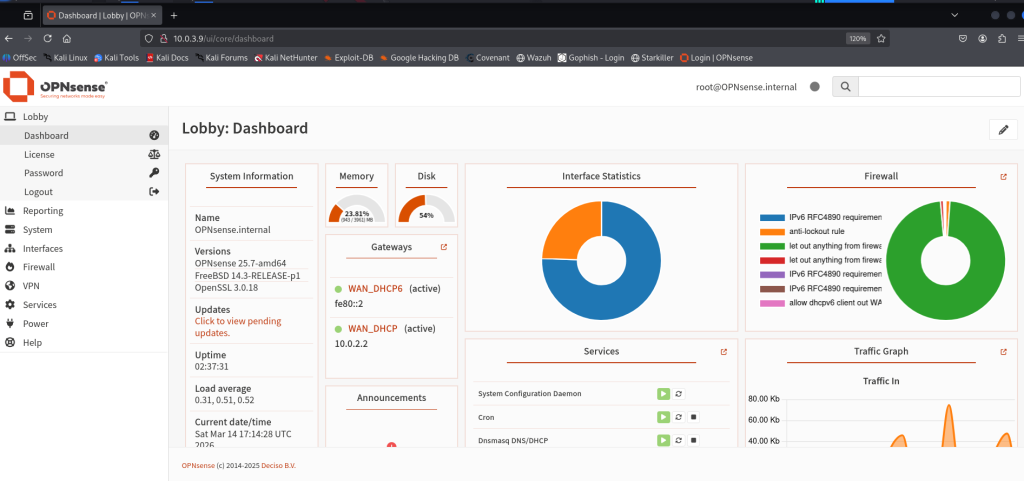
Now start the Opnsense machine and kali to get access to the web GUI.
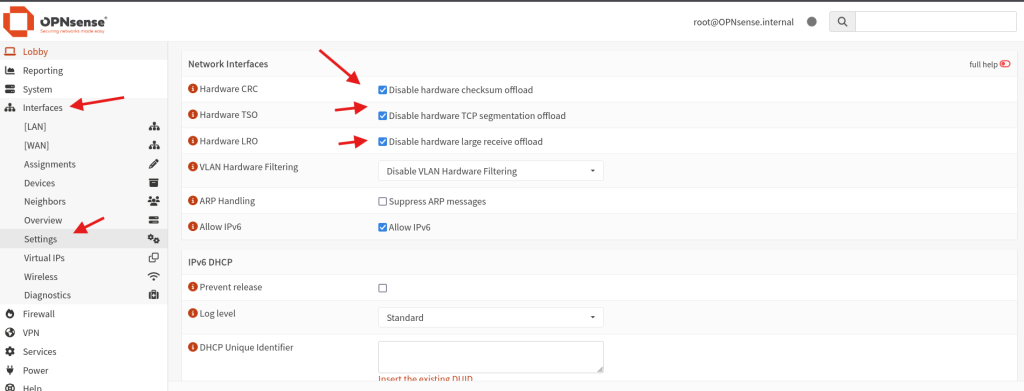
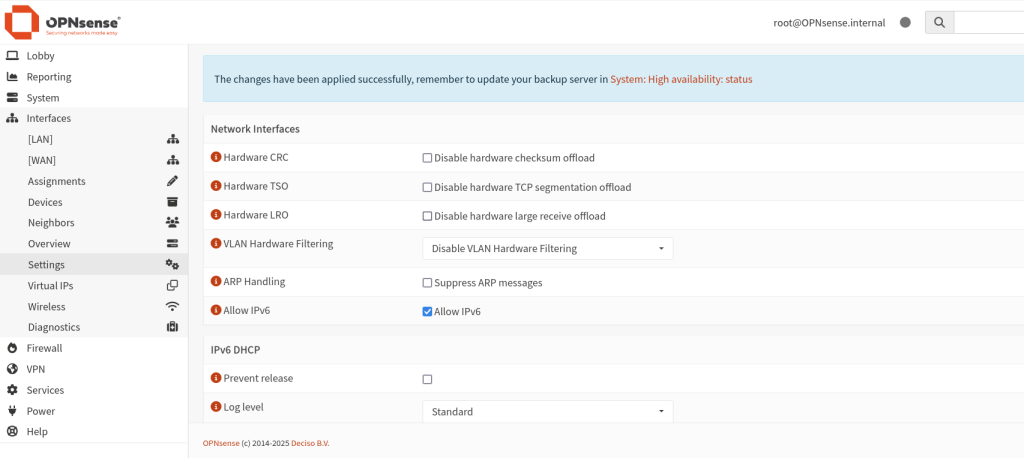
What we need to do is go to the interfaces and setting, We need to disable Hardware CRC,TSO,LRO for our IPS to work correctly and click save.
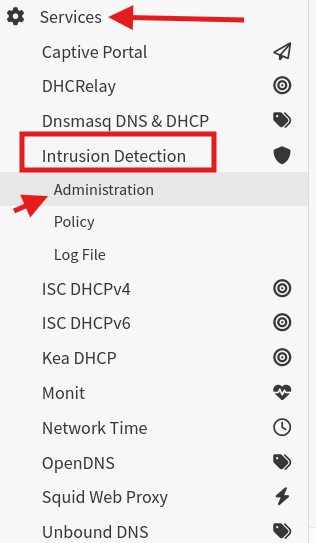
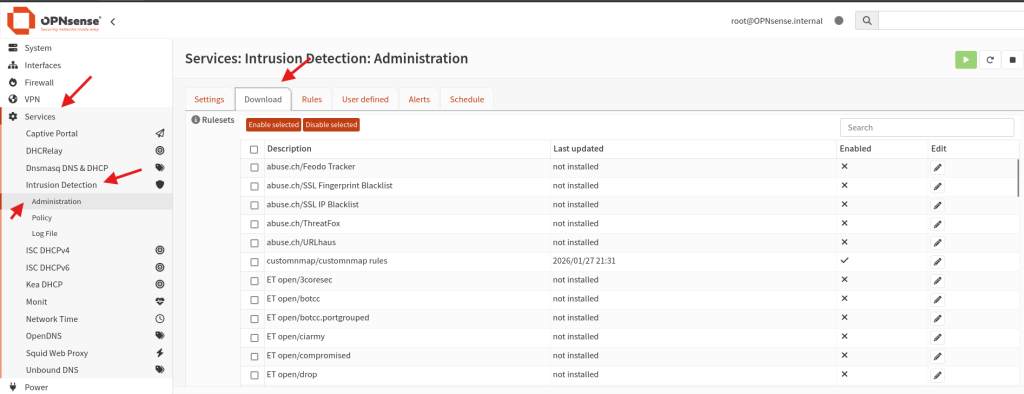
Next we gonna go to services, Intrusion Dection and then to Administration.
Before making any change you need to click the advanced mode button to view all settings, Next check the Enabled box, IPS mode, Promiscuous mode and the interfaces you can keep it to LAN only if you want but for this lab we’ll use LAN and WAN. Under Detection the pattern matcher should be “Hyperscan“, The Dectect Profile we will leave it to “Medium” because we do not want to have a massive amount of false possitives, on the Home networks we need to specify the subnet on our home network (LAN Subnet) is using, After everything is set click on Apply.

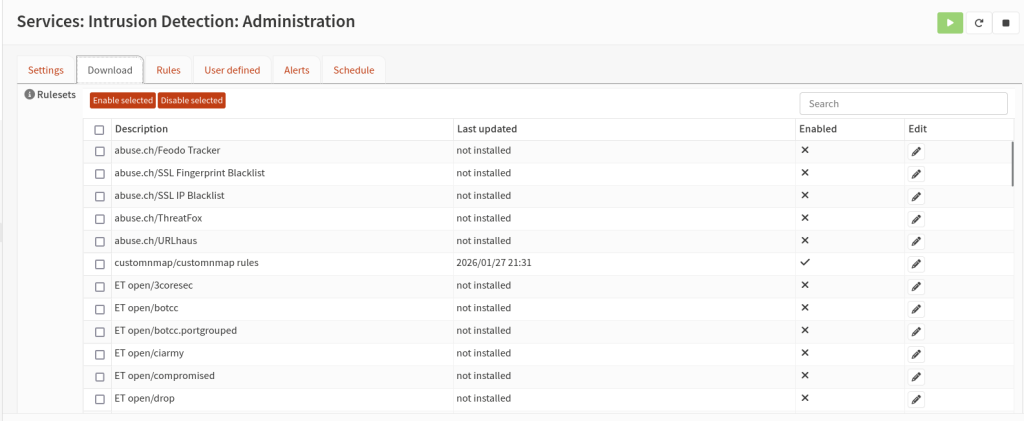
Next go to the download tab inside we’ll create our custom rules, By default opnsense gives us some rules that we can utilise but we’ll create our custom rules.
We going to use Suricata it allows us to write custom rules
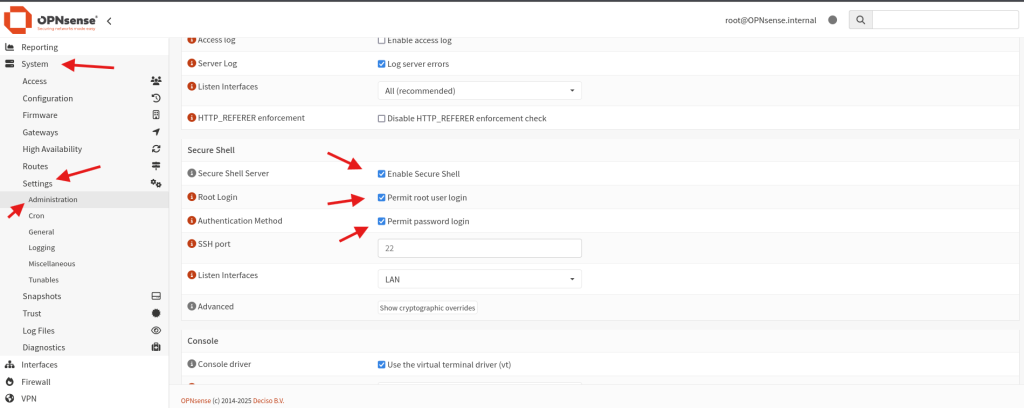
alert tcp any any -> 10.0.3.9 any (msg:"NMAP SYN STEALTH SCAN LIKELY to 10.0.3.9 - multiple SYN no ACK/dsize0"; flow:to_server,stateless; flags:S; ack:0; dsize:0; threshold:type threshold, track by_src, count 10, seconds 8; priority:3; classtype:attempted-recon; sid:1000102; rev:1;)In order to create our custom rules we need to use ssh on our Opnsense but before that let enable this setting. Go to system then setting and Administration. Next enable secure shell, Permit root user login and Permit password login, And click save.
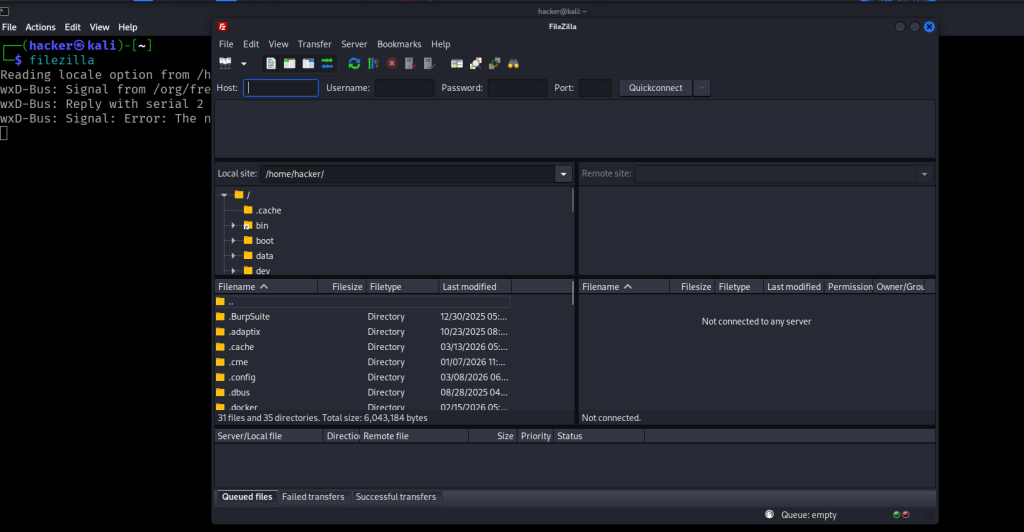
FileZilla #
In this section we going to use FileZilla to access files on our Opnsense firewall, We are going to establish SFTP conection to Opnsense so we can access it’s files. Next open your terminal and type.
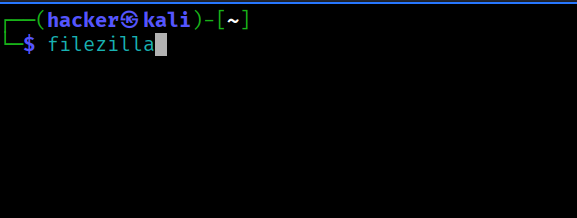
sudo apt-get install filezillaOnce installed run this command to open FileZilla
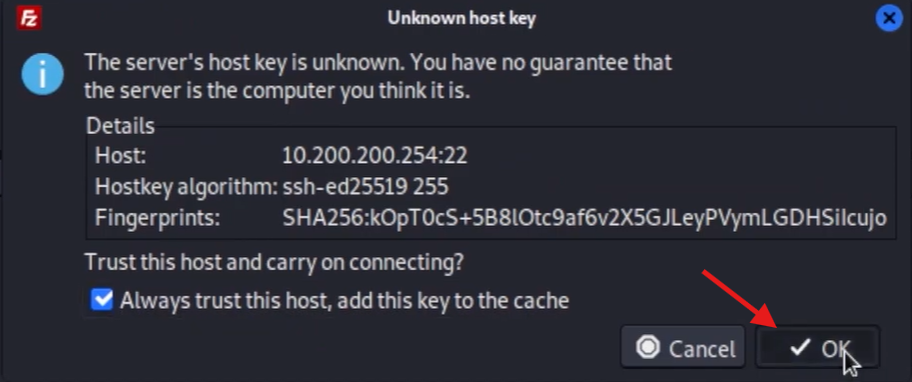
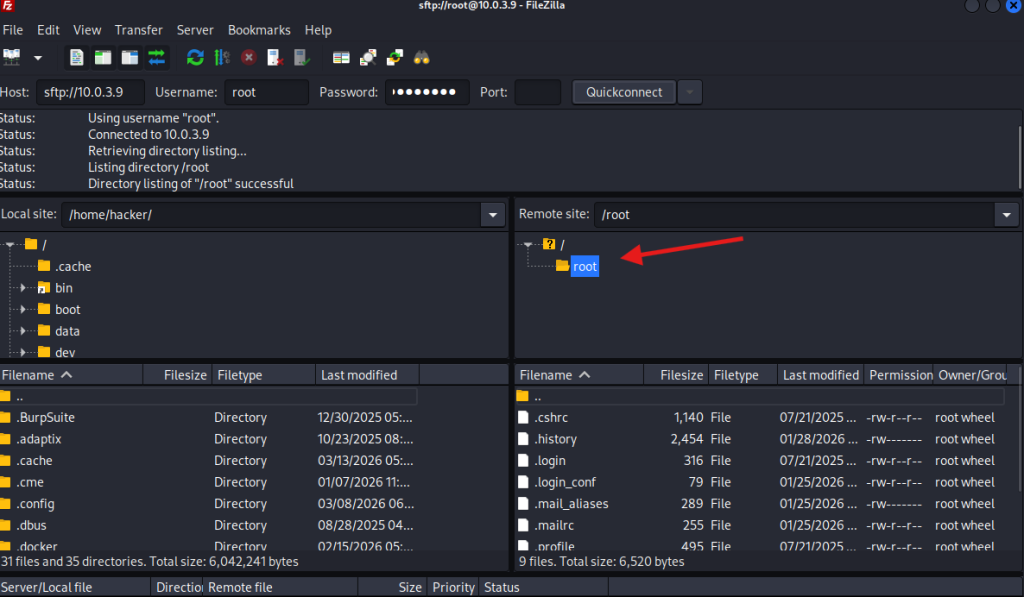
To access the server type the host IP, Username and Password as follow

Now we have access to into Opnsense root directory
Now we’ll create two files, the first one is customnmap.rules where will put our rules in our case is nmap scan rules. And a customnmap.xml file.
customnmap.rules
Go to your terminal and type sudo nano customnmap.rules and past this rules
alert tcp any any -> 10.0.3.9 any (msg:"NMAP SYN STEALTH SCAN LIKELY to 10.0.3.9 - multiple SYN no ACK/dsize0"; flow:to_server,stateless; flags:S; ack:0; dsize:0; threshold:type threshold, track by_src, count 10, seconds 8; priority:3; classtype:attempted-recon; sid:1000102; rev:1;)customnmap.xml
Same apply her sudo nano customnmap.xml and past the xml
<?xml version="1.0"?>
<ruleset documentation_url="http://docs.opnsense.org/">
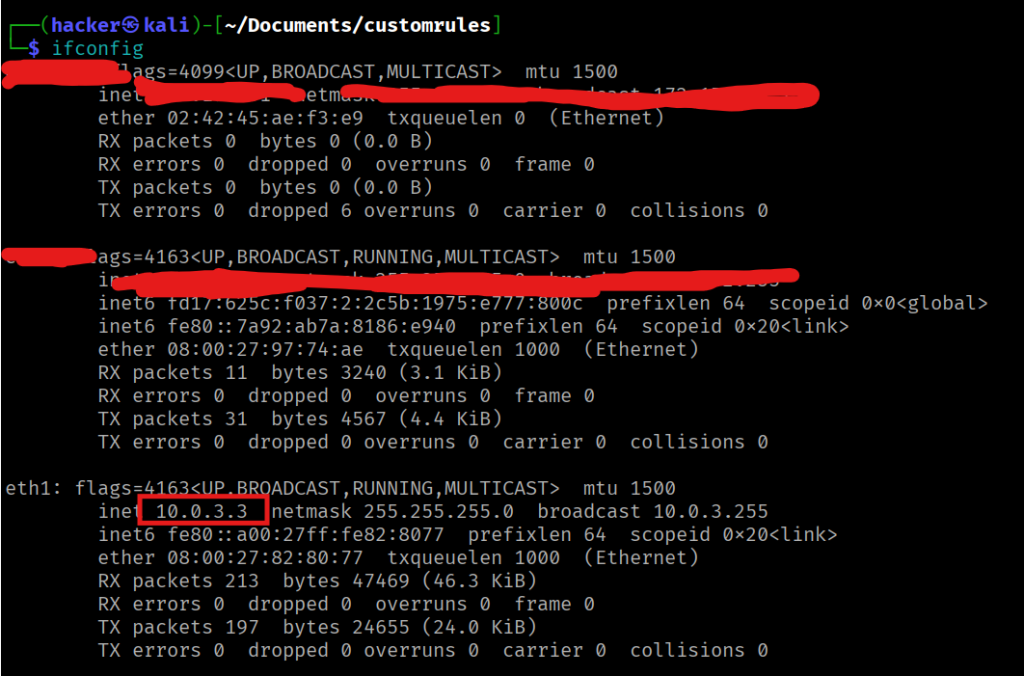
<location url="http://10.0.3.3/" prefix="customnmap" />
<files>
<file description="customnmap rules">customnmap.rules</file>
<file description="customnmap" url="inline::rules/customnmap.rules">customnmap.rules</file>
</files>
</ruleset>Note! the customnmap.xml will tell opnsense where to download the rule we have created which is the nmap rules and put the IP Address of you kali machine, To tell opnsense where to get the rules.
Now go to filezilla and locate where you created our custom rules in my case is on Documents. And on the Opnsense filewall we going to navigate to usr > local > opnsense > scripts > suricata > metadata > rules and we going to transfer our xml files here by Drag and drop.

Next let’s go to our terminal where we stored our rules in my case the Documents directory and set up a python3 http server to download our rules into Opnsense
python3 -m http.server 8002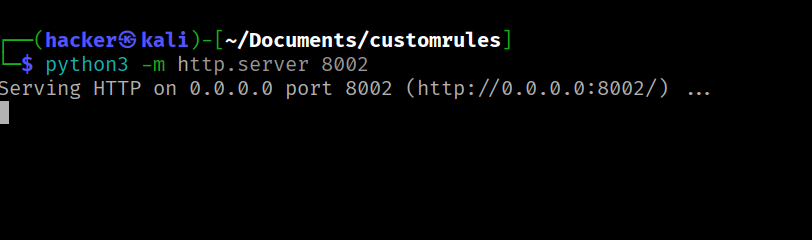
Now open Opnsense Web GUI, go to Services > Intrusion Dection > Administration > Download tab, And restart the service

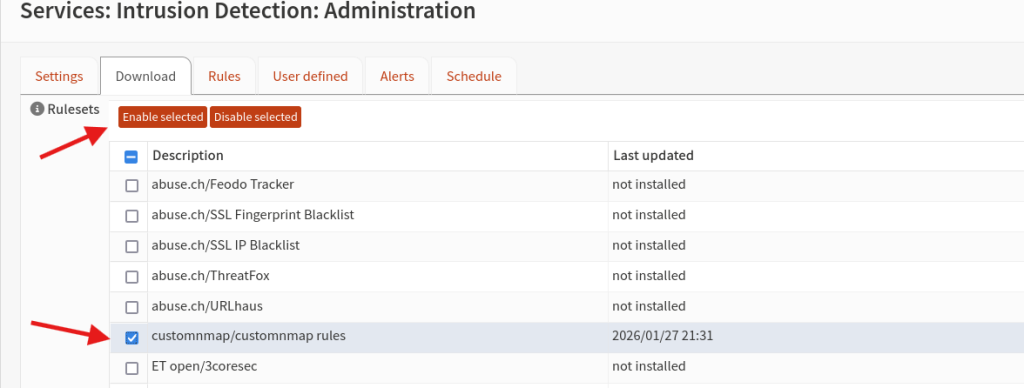
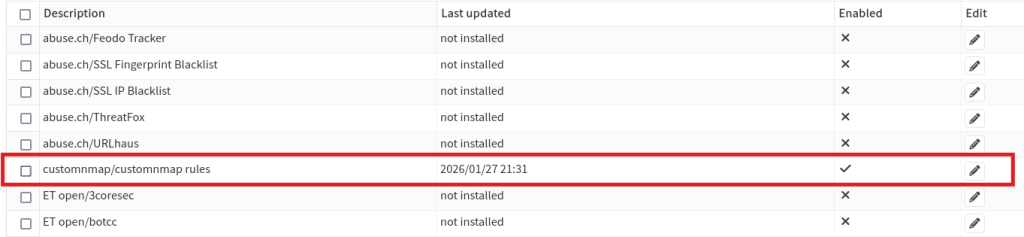
Now if you check on the rules section you will see our custom rules, you going to select it and click on Enable selected
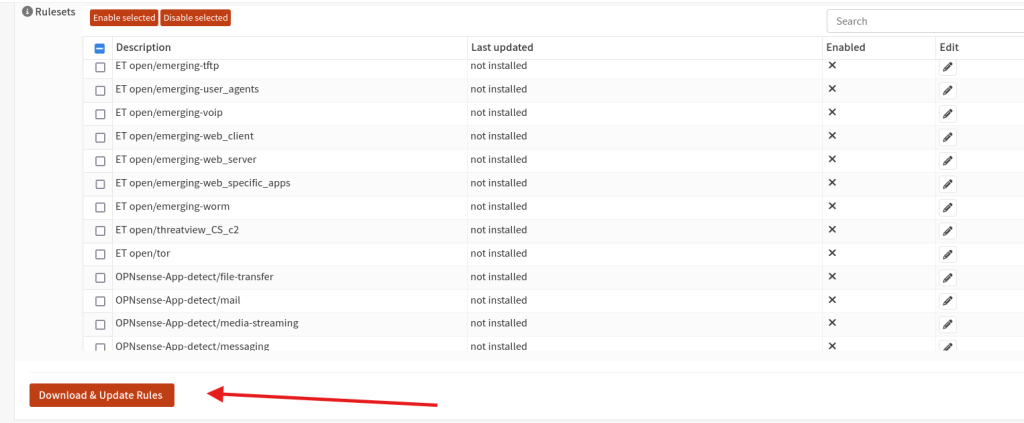
Once done click on Download & Update Rules
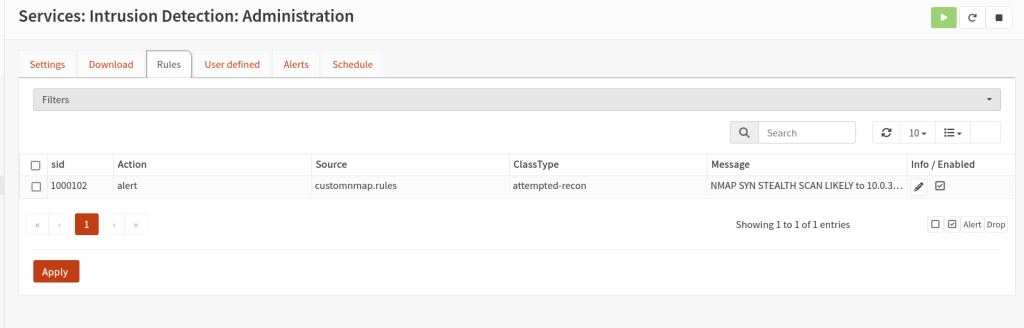
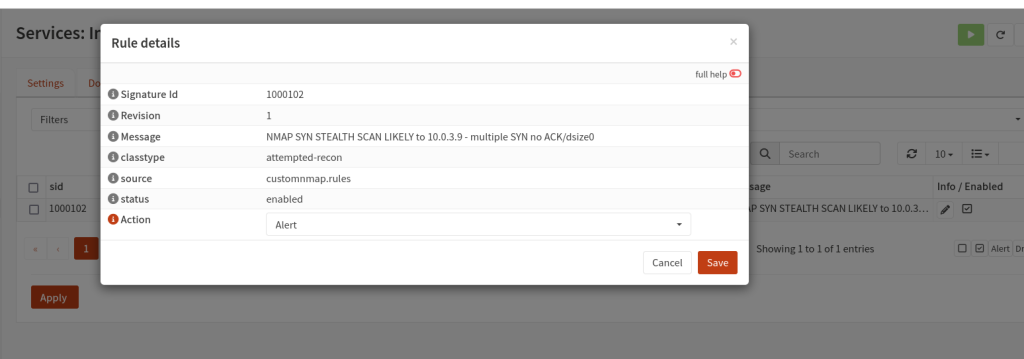
Next click on rules tab, you can see we have our custom rules. Click on info to view rules description.
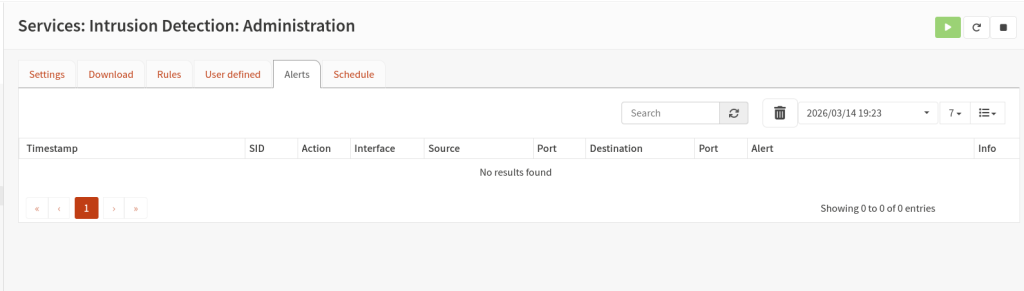
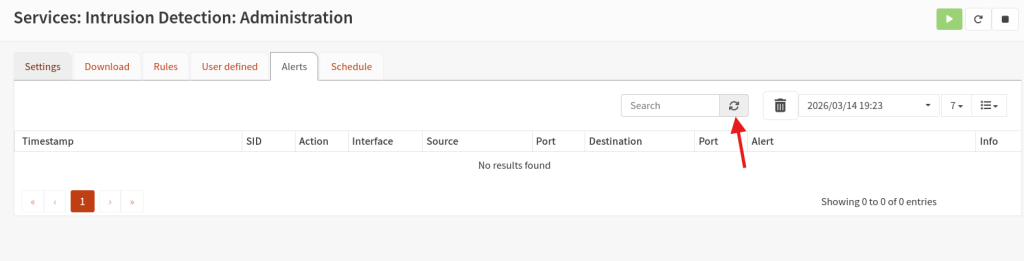
Now if you click on Alerts tab this is the place we’ll see all our alerts are captured.
Now let’s try to scan our Opnsense firewall using nmap.
sudo nmap -sS -Pn --top-ports 500 10.0.3.9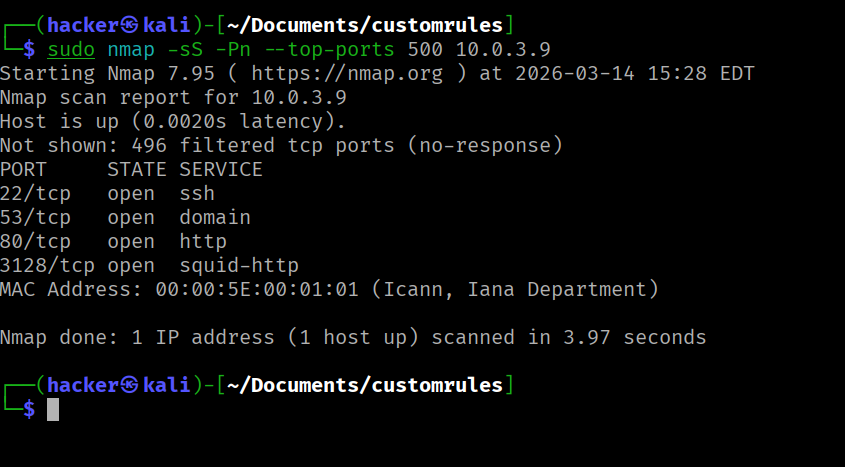
Let go to Opnsense and check for the alerts, we need to restart the service once again.
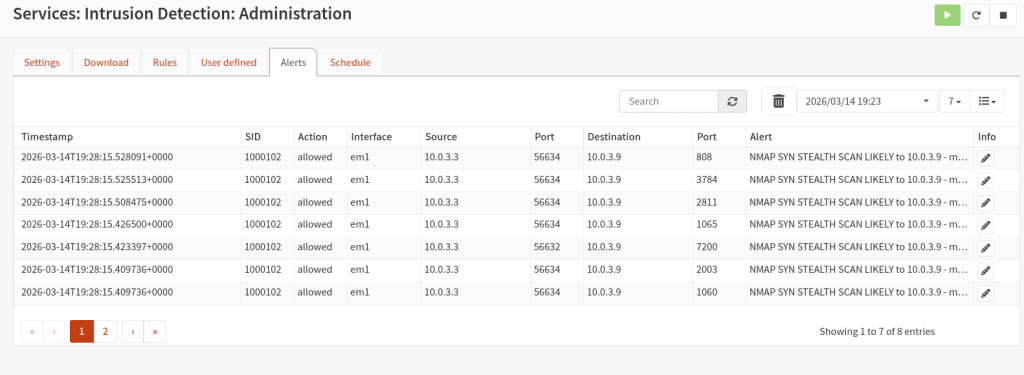
As we can see our rules has been triggered, Great all the best for the next series 🙂